TEAM SOLUTIONS
 WORKFLOW SOLUTIONS



 REVIEW TOOL
 PROJECT MANAGEMENT
 TOOLS & INTEGRATIONS
 CLIENT INTERVIEWS




Last updated: October 2026
Have you ever caught yourself thinking about what to do with a banner on Thursday, when it should have gone live on Monday? The design itself was done days ago. But since then, it has been passed around between the product manager, the brand lead, and someone from sales, and each of them had something to add. And they all claim their approvals are final.
The thing is, nobody here is doing anything wrong: everyone just wants the banner to look good. The problem is that there’s no clear order to who reviews it, and who gets to say the final yes. So the work keeps going back and forth, and the deadline quietly moves further away.
That’s where a review and approval process comes in. In this article, I’ll walk you through what it is, what usually breaks without one, and the 7 stages most teams go through. I’ll also compare manual and tool-assisted workflows, so you can see which one fits the way your team works.
What Is a Review and Approval Process?
In simple terms, it’s the path your work takes from “here’s a draft” to “yes, this is ready”. And while the name sounds a bit formal, you probably already have some version of it. The question is whether it’s written down and followed, or whether it just happens differently every time.
It also helps to know that review and approval aren’t the same thing, even though people often use them together:
- Review is where people look at the work and give feedback. It can happen several times, and it involves teammates, subject experts, and sometimes external clients.
- Approval is the final decision. It happens once per version, and it comes from one person (or a small group) with the authority to say the work is done.
So review is about making the work better, while approval is about making a decision. When teams mix the two, reviewers start acting like approvers, and that’s usually the quickest way for your projects to get stuck.
You’ll also hear the same idea under different names, depending on what’s being checked. For example, a content approval process covers blog posts, social copy, and emails. A design approval process covers banners, packaging, and brand visuals. And a marketing approval process usually covers whole campaigns with many assets and stakeholders, which is why bigger marketing teams often run it in dedicated marketing approval software. However, the core approval process behind all of them is the same.
What Breaks Without a Formal Review and Approval Process
I’d say most teams only notice they need a process once something goes wrong. So let’s start with the pain, because I bet you’ll recognize at least a few of these:
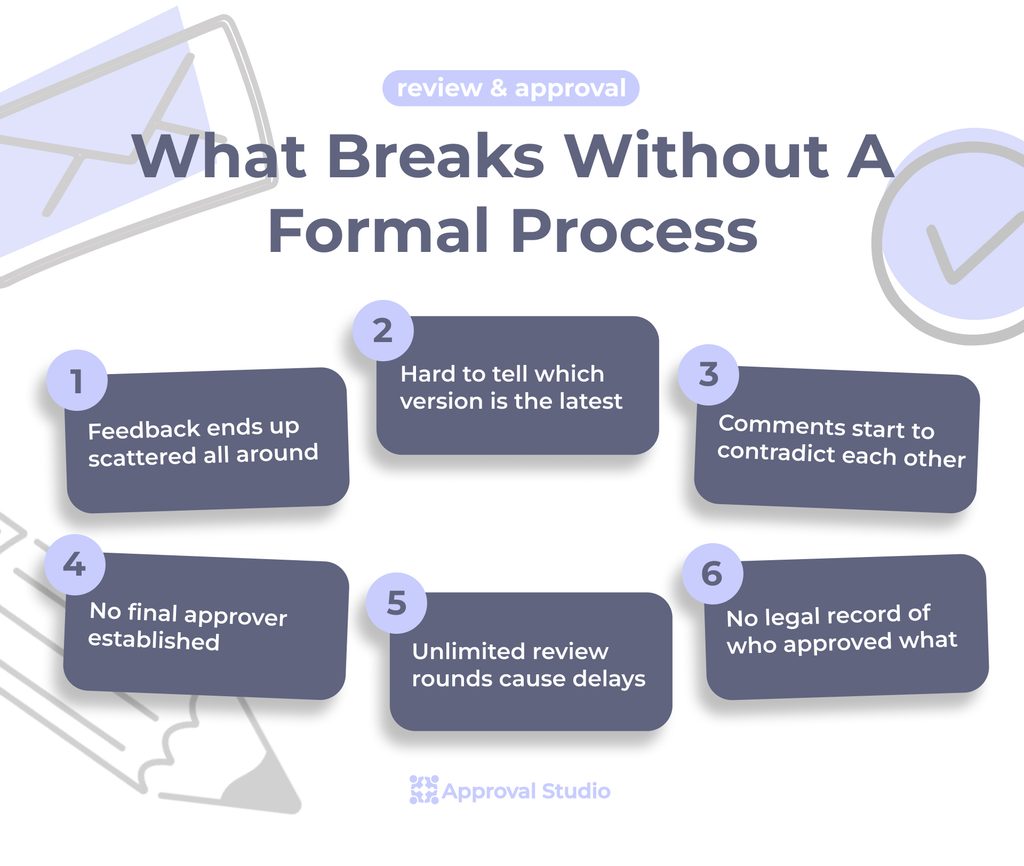
- Feedback lives in five different places: One comment comes by email, another in Slack, and a third during a quick call you have no record of. As a result, the designer spends more time and nerves collecting feedback than acting on it.
- Nobody knows which version is the latest: Files named “final”, “final2”, and “final_final” pile up, and sooner or later, someone reviews or even publishes the wrong one. Oops.
- Comments contradict each other: When stakeholders review separately, they usually don’t see each other’s notes. That’s why the designer ends up stuck between two opposite requests.
- Nobody owns the final decision: When five people can approve, the last word goes to whoever replies last. So agreed changes might and often get reopened again and again.
- Review rounds never end: Without a limit, “just one more change” can turn into a rabbit hole and go on for weeks, with every extra round eating into your time and budget.
- There’s no record of who approved what: When a mistake slips through, there’s no proof of who signed off and when. That’s a real risk, especially for regulated industries or client work, where the slightest slip can cost you reputation.
58%
of the workday is lost to work coordination rather than the skilled, strategic jobs people were hired to do.
Source: Asana, Anatomy of Work Index 2022 link↗
See, chasing feedback, checking which file is current, and asking “did anyone approve this?” are exactly the kind of coordination tasks that eat up your day. And establishing a clear process is the easiest way to win some of that time back.


The 7 Stages of a Review and Approval Process
Every team’s workflow looks a little different, of course. But when you break it down, the stages of a review and approval process are almost always the same. Here are the 7 approval process steps most teams follow, and what each one should give you before you move on.
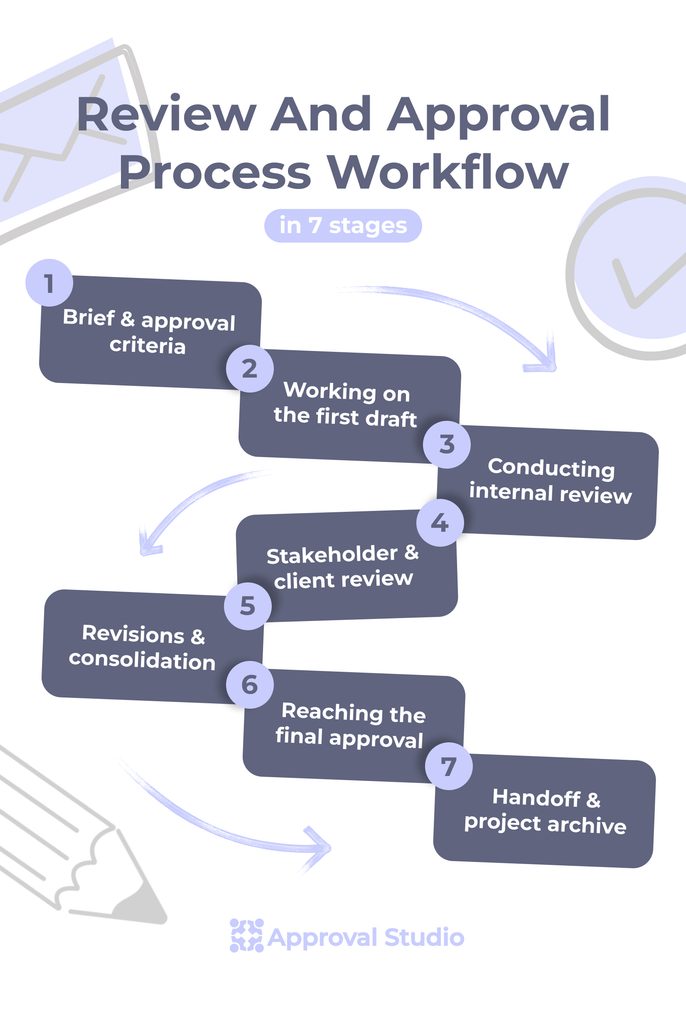
1. Brief and approval criteria
Every good review starts before the work even exists. At this stage, you agree on the goal of the asset, the audience, the deadline, and what “approved” actually means. Most importantly, you name the reviewers and the one final approver. Because once everyone knows the rules upfront, feedback later stays focused on the brief instead of personal taste.
2. First draft
Next, the designer or writer creates the first version based on the brief. It doesn’t need to be perfect, but it should be complete enough for people to react to. The first draft matters more than it seems, because it gives everyone something real to react to and sets the direction for every round that follows.
3. Internal review
Before anyone outside the team sees the work, your own team checks it first. This usually means a creative lead, an editor, or a colleague looking at quality, brand consistency, typos, and technical details. And when feedback is pinned right on the design instead of written in an email, it’s much faster to act on. Teams usually handle this step by incorporating design review tools into their workflow.
4. Stakeholder and client review
Now the work goes to the people outside your team, such as brand, legal, product, sales, or the client. This is where most delays happen because these reviewers are busy and often don’t work in your tools. So give them one link, one deadline, and one place to comment. And if you work with external clients a lot, we’ve left some good tips on client approval software.
5. Revisions and consolidation
Once feedback is in, someone needs to sort it out. That means grouping similar comments, resolving conflicts between reviewers, and deciding what actually gets changed. After that, the designer makes the updates and uploads a new version. Ideally, reviewers can compare the new version with the old one, so they only check what changed instead of reviewing everything again.
6. Final approval
This is the moment the named approver says yes. It should be a clear and recorded decision, not a “looks good” in a chat that nobody can find later. So, when the approver has seen every change and signed off, the work is officially done, and nobody can reopen it without a good reason.
7. Handoff and archive
Finally, the approved asset goes to wherever it needs to go: the developer, the printer, the ad platform, or the client. At the same time, you save the final file, the feedback history, and the approval record in one place. This way, when someone asks six months later why the headline changed, you’ll have the answer in seconds.
Manual vs. Tool-Assisted Review and Approval: Stage by Stage
You can run every stage above with email, shared folders, and spreadsheets. Many teams do, and it works fine for small volumes. However, once you have more assets, more reviewers, or external clients, the manual approach may start to slow you down. Here’s how a manual review and approval workflow compares with one run in review and approval software:
| Stage | Manual process | Tool-assisted process |
|---|---|---|
| 1. Brief and approval criteria | Brief sits in a doc or email; reviewers and approver are agreed verbally | Brief, reviewers, approval stages, and due dates are set up in the project from the start |
| 2. First draft | File is sent as an attachment or shared folder link | File is uploaded once and shared through one review link |
| 3. Internal review | Comments come by email, Slack, or screenshots with arrows | Comments are pinned right on the asset, in one place |
| 4. Stakeholder and client review | Everyone reviews separately, and someone has to chase replies | Everyone sees the same comments, gets automatic reminders, and can review without an account |
| 5. Revisions and consolidation | Designer merges feedback by hand and renames files manually | Versions are tracked automatically and can be compared side by side |
| 6. Final approval | “Looks good” in an email or chat message | Recorded approval decision with name, date, and version |
| 7. Handoff and archive | Files and feedback are scattered across inboxes and folders | Final file, full comment history, and approval report stay in one place |
| Best fit | Small teams, few assets, one or two reviewers | Growing teams, many assets, several stakeholders or external clients |
As you can see, the biggest difference shows up in stages 3 to 6. That’s where manual work turns into chasing, copying, and guessing, while tools tend to keep everything connected.

How to Build a Review and Approval Process That Works
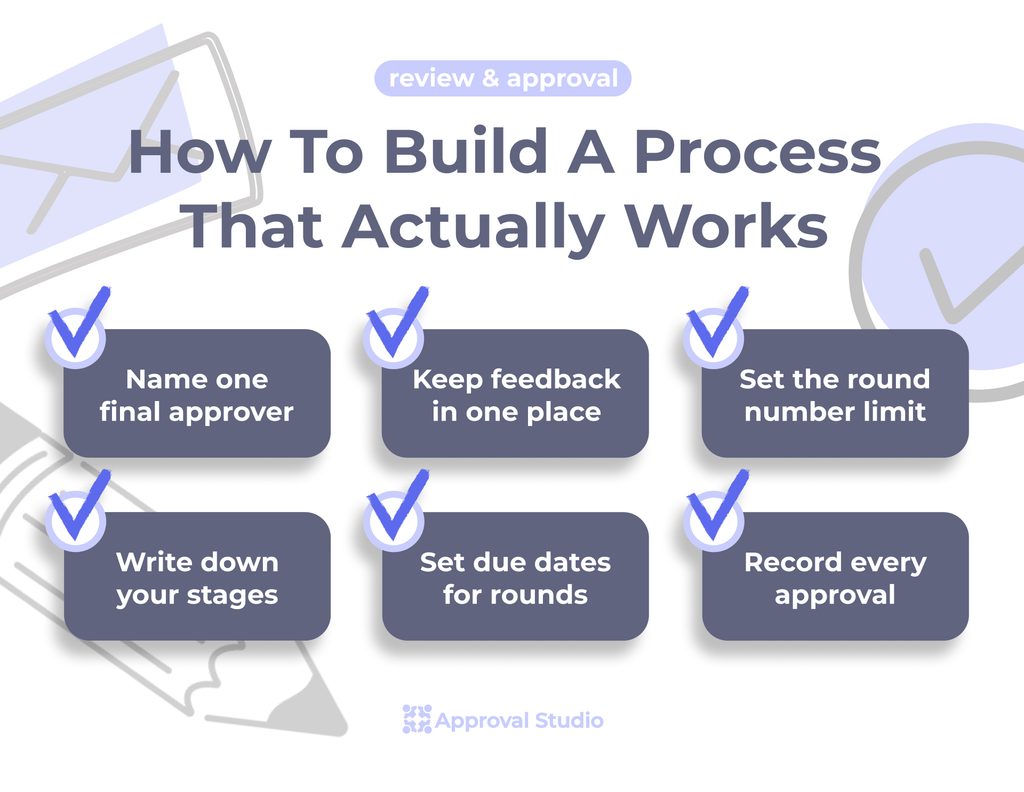
Let me reassure you that fixing your review and approval process isn’t that big and scary. Instead, a few simple rules make most of the difference. Look at what I’d start with when you build a content review and approval process for your team:
- Name one final approver. Reviewers give feedback, but only one person makes the final call. So agree on who that is before the work even starts.
- Write down your stages. Even a simple list of who reviews what, and in which order, removes a lot of confusion. Once it’s written, new team members can follow it too.
- Keep all feedback in one place. Pick one channel for comments and stick to it. When someone sends feedback somewhere else, move it to the main place instead of answering there.
- Set a due date for every round. Reviews without deadlines tend to wait until it’s too late. That’s why a clear due date for each round keeps things moving and accountable.
- Limit the number of rounds. Two or three review rounds are usually enough. After that, extra changes should be a conscious decision and not a habit.
- Keep a record of every approval. Save who approved what and when. This protects your team, and it makes future audits or client questions much easier.
If your team runs campaigns with many assets and stakeholders, it’s also worth mapping out a full marketing approval workflow, so every type of content follows the same clear path.
When It’s Time to Bring in a Tool
A spreadsheet and a shared inbox can take you pretty far. However, at some point, the manual process starts costing more time than it saves. So, what are the signs you’ve already reached that point?
- You regularly lose track of which version is the latest one.
- You spend more time chasing reviewers than working on the actual assets.
- External clients or stakeholders review your work, and email threads keep getting longer.
- You can’t quickly prove who approved an asset and when.
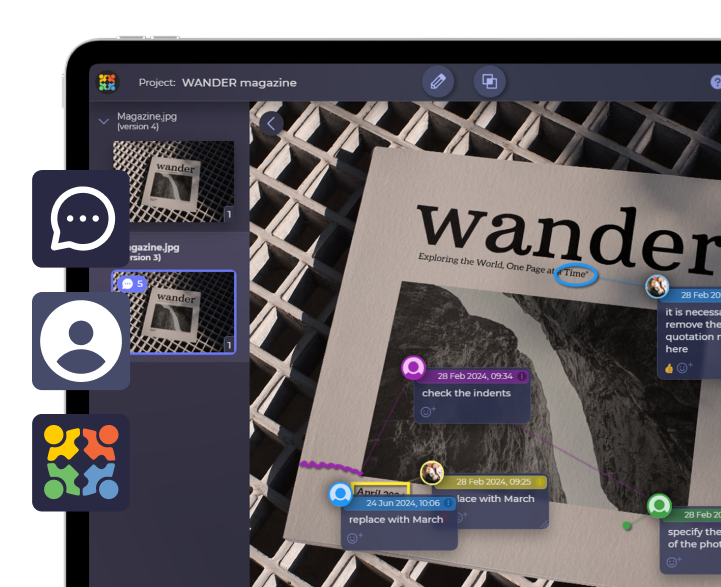
If two or more of these sound familiar, it’s probably time to look at dedicated review and approval software. The right tool keeps feedback, versions, and sign-offs in one place, so your process runs the same way on every project. For example, in Approval Studio, you can set up approval stages with due dates, compare versions side by side, and invite external reviewers who don’t need an account. And if you want to see how that works for your whole team, check out our review and approval solution.
Final Words
Summing this up, a review and approval process gives every stage a clear owner, every round a clear deadline, and every asset one clear approval. As a result, your team spends less time chasing and more time on the work itself.
And you don’t need much to build a good process. It can start with just a few things, like naming your approver, writing down your stages, and keeping feedback in one place. Once that feels natural, you’ll know exactly where a tool can help, and that Thursday banner will finally go live on Monday.