TEAM SOLUTIONS
 WORKFLOW SOLUTIONS



 REVIEW TOOL
 PROJECT MANAGEMENT
 TOOLS & INTEGRATIONS
 CLIENT INTERVIEWS






Last updated: September 2026
If you look around these days, almost every company has a website of its own. And how can they not, if modern people expect to find you online by default? No matter whether you run a local bakery, a growing startup, or a global brand, customers judge you by the digital feel of your product or services. Your website is often the very first thing a potential customer sees, long before they ever talk to you. So when it looks outdated, loads slowly, or feels confusing, they notice right away. And more often than not, they simply close the tab and go check out a competitor.
On the other hand, a clean and well-planned website makes you look professional and trustworthy from the very first click. But getting there takes more than good design; a website passes through a lot of hands before it goes live, so you need a clear process to keep everything on track.
In this article, I’ll walk you through a website design process, from the first brief to launch day. For each step, you’ll see what happens, who’s involved, and what you should have in hand before you move on.
What Is a Web Design Workflow?
In simple terms, the web design process is the map your team follows on every project, so instead of inventing a new process each time, you repeat what already works and fix what doesn’t.
A good workflow answers the important questions before the work even starts. Who owns each step? What needs to be ready before the next step can begin? Who gives the final approval, and how? Once everyone knows the answers, the project moves forward in a steady line instead of going back and forth.
It also helps to know that a workflow isn’t the same thing as a project plan. A project plan is about one specific website, with its own dates and budget. A workflow is the process behind all of your projects. So you build it once, then reuse it and improve it every time you launch a new site.
And the benefits go beyond your own team. When your process is clear, clients know what to expect and when their input is needed. As a result, they trust you more, which is exactly the kind of professional impression a good website should make in the first place.
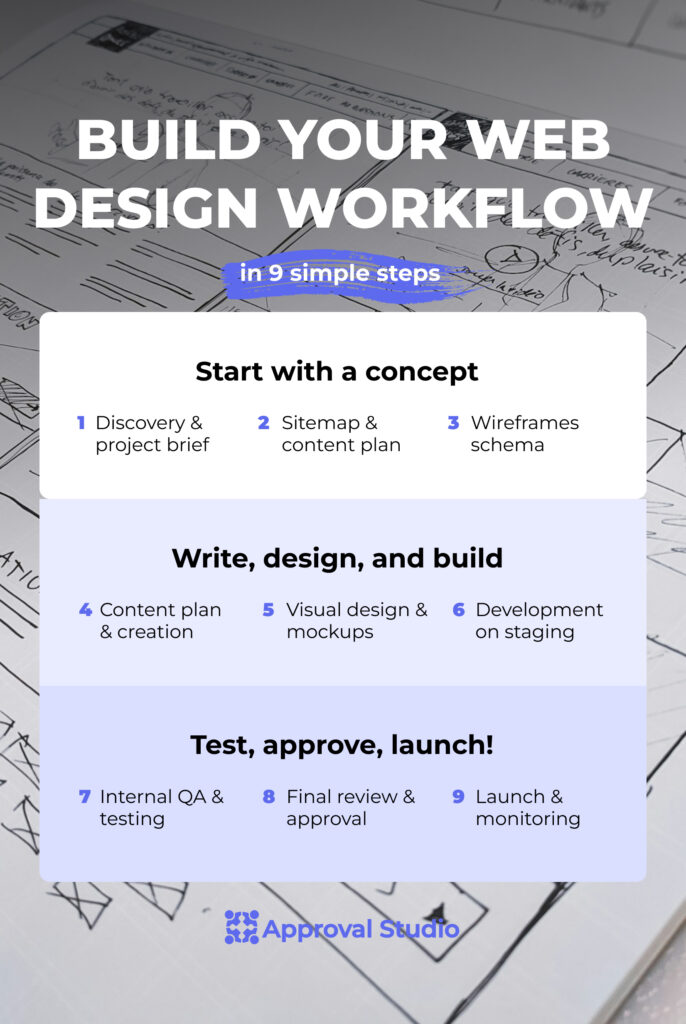
Here are the 9 steps of a web design workflow at a glance:
Why Your Team Needs a Web Design Workflow
I’d say most web projects go off track because people simply aren’t on the same page about who does what, and when.
And when you think about it, a web project is basically one long chain of conversations. The client talks to the project manager, the designer hands the work over to the developer, and stakeholders give feedback on all of it along the way. That’s why a clear workflow matters so much: everyone knows what they’re working on, who they’re waiting for, and who has the final say. As a result, you spend less time chasing client feedback and more time actually designing.
Besides that, a set workflow helps you:
- Quote projects more accurately, because you know every step in advance.
- Get new team members up to speed faster, since the process is already written down.
- Set clear expectations with clients from day one, so there are fewer surprises later.
Now, with this part established, let’s finally move on to discussing the 9 steps of web design workflow in detail.
The 9 Steps of a Web Design Workflow
One quick note, though. Each step below has one job, and the project only moves forward once that job is done and approved. It might sound a bit strict, but that’s exactly what keeps things from going in circles later.
Step 1: Start with discovery and a website project brief
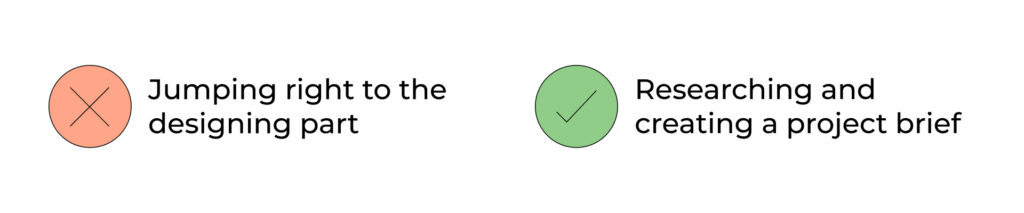
Every web design workflow starts with research. This is where you learn what the website needs to do and who it’s for.
Usually, it’s a kickoff call or a short questionnaire where you talk about business goals, target audience, competitors, key features, budget, and deadline. You also agree on scope here: how many pages, which integrations, and who writes the content.
Most importantly, name the final approver right at this stage. See, when five people can approve, nobody really does, and that’s exactly how review rounds turn endless later on.
Who’s involved: client, project manager, lead designer.
What you get: a signed brief with goals, scope, timeline, and one named final approver.
Step 2: Plan the sitemap and content
Once the brief is signed, you plan the structure. It can be just one page, in which case you have to decide early on where it’ll be placed and identify interlinking possibilities. Or you may want to plan your whole website, which then requires mapping it all out. A sitemap is a list of every page on the website and how those pages connect.
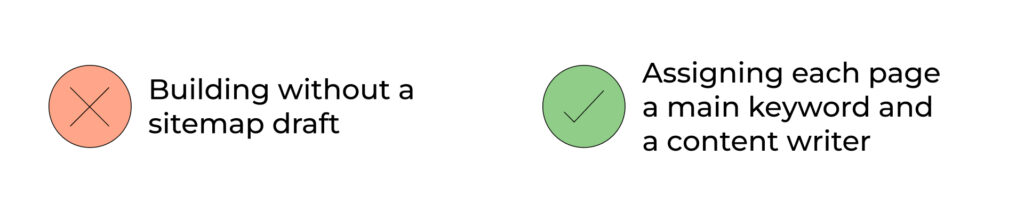
At this stage, it’s also a good idea to give each page a main keyword, because SEO starts here and not after launch. Then decide who writes the content for each page, so nothing slips through the cracks.
A simple spreadsheet works just fine for this. What matters is that the client sees it and agrees with it.
Who’s involved: UX designer, content or SEO specialist, client.
What you get: an approved sitemap and a content plan with an owner for every page.
Step 3: Sketch wireframes
Wireframes show the layout of each page without colors, fonts, or images. You’d usually see them use grey boxes to mark placeholders rather than looking like a finished page.
The goal here is to get the structure right: what the visitor sees first, where the main button goes, and how the navigation works. Everything else can wait.
This is also your first small wireframe approval checkpoint. Share the wireframes with the client and ask one simple question: “Does this structure make sense?” I’d keep the conversation away from colors for now, because fixing a layout at this stage takes minutes, while fixing it after development can take days.
Who’s involved: UX designer, client.
What you get: approved wireframes for your main page templates.
Step 4: Write the content before you design
I know it’s tempting to design first and fill in the text later, but real content should come before visual design. For example, a headline can turn out twice as long as planned, or a product description will suddenly need three paragraphs instead of one.
So write the copy first and then design around it. That includes headings, body text, button labels, meta titles, and notes on what images each page needs.
Who’s involved: copywriter, SEO specialist, subject experts on the client side.
What you get: approved copy for every page.
Step 5: Create the visual design and mockups
Now comes the fun part, where the website finally gets its look. The designer turns wireframes and copy into detailed mockups with brand colors, fonts, and images.
Start with the mobile version, because it forces you to decide what really matters on each page, and then scale up to tablet and desktop. Along the way, set up a small design system with buttons, form fields, colors, and spacing, so developers don’t have to guess later.
This is your second approval checkpoint, where the client reviews the mockups and leaves feedback. Try to keep that feedback in one place and pinned to the design instead of spread across email threads. Also, agree on the number of review rounds upfront. In my experience, two rounds is a good place to start.
Who’s involved: UI designer, client, brand or marketing stakeholders.
What you get: approved mockups and a style guide for development.
Step 6: Build the site on a staging server
Development turns approved mockups into a working website. Developers build it on a staging server, which is a private copy of the site that the public can’t see.
That said, don’t let the designer disappear during this step. Small details like spacing, font sizes, and animations often get lost in the handoff, so quick check-ins between designer and developer save a lot of back-and-forth later.
Who’s involved: front-end and back-end developers, designer.
What you get: a working staging site with real content.
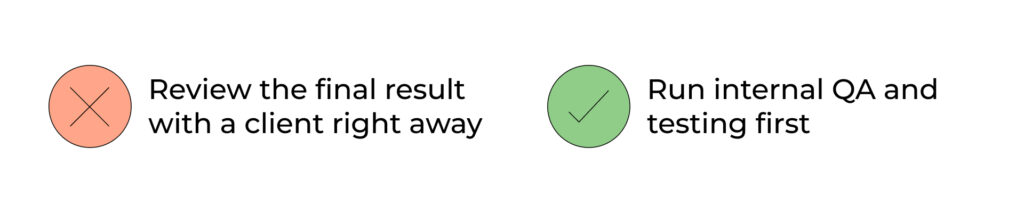
Step 7: Run internal QA and testing
Before the client sees anything, your own team should test the website first. That’s what internal QA is for, and here’s what I’d check:
- All links, buttons, and forms work
- Pages load fast
- Layouts look right on mobile, tablet, and desktop, in the main browsers
- Every page has a title, meta description, clear headings, and image alt text
- Text has enough color contrast, and the site works with a keyboard
Please don’t skip that last point, since accessibility is exactly where most websites still fall short.
95.9%
of the top one million home pages had detectable accessibility failures, with an average of 56.1 errors per page.
Source: WebAIM Million, 2026 link↗
The goal of this step is pretty simple: when the client reviews the site, their feedback should be about the design and not about broken buttons.
Who’s involved: developer, QA specialist, designer.
What you get: a clean staging site that’s ready for external review.
Step 8: Review and approve the website
Website review and approval is the step where the client and stakeholders check the working website and give their final sign-off before launch. It’s also the step that decides whether you launch on time or not.
Why this step matters:
At this point, the site is fully built and running on staging, so this is the first time the client sees the real thing. Sure, they already approved the mockups back in step 5. But a mockup is just a picture of a website. Hover effects, animations, forms, real content, and different screen sizes only show up once the site actually works in the browser. That’s why a mockup approval doesn’t count as a website approval, no matter how good the mockups looked. And that’s also why this final review is where you catch everything a static design couldn’t show.
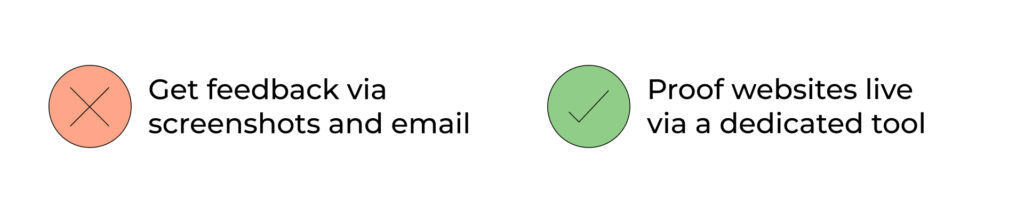
The trouble usually starts when this review happens through screenshots and email. The client writes “the button looks off,” and nobody knows which button, on which page, or on which screen size.
Who’s involved:
- Designer: checks the site matches the approved design
- Developer: answers questions and fixes issues
- Project manager: runs the rounds and tracks deadlines
- Client: reviews the whole experience and gives final approval
- Other stakeholders: brand, legal, or marketing teams check their part when needed
What you get: a fully approved website and a clear record of who approved what and when.
How to run the live website review
Before we get to the final step, I believe it’s worth paying more attention to how a good website review works. Essentially, it looks like this:
- Review the staging URL itself, not static images.
- Check the site in desktop, tablet, and mobile views.
- Pin every comment to the exact element it’s about.
- Set a due date for each review round.
- Compare versions between rounds, so everyone sees what changed.
- Record the final sign-off with names and dates.
And this is exactly what a website proofing tool is built for. It loads your live URL into one shared review space, so reviewers click right on the page and leave comments where the issue actually is. In Approval Studio, you can switch between screen sizes in the same proof, compare versions side by side, and set up approval stages with due dates. Plus, external reviewers don’t need an account to leave feedback. Once everyone approves, you get a full report of who approved what and when.


If this is all new to you, we’ve covered what website proofing is in a separate guide. And if you’re already choosing a tool for your team, it’s worth comparing the best website proofing tools first.
Step 9: Launch and keep improving
Launch is when the approved website finally goes live. But before you open the champagne, run through a short checklist:
- Move the site to the live domain
- Set up redirects from old page URLs
- Submit the sitemap to Google Search Console
- Make sure analytics tracking works
- Test every form one more time on the live site
After launch, keep a close eye on the site for the first few weeks and look at speed, errors, and how visitors actually use each page.
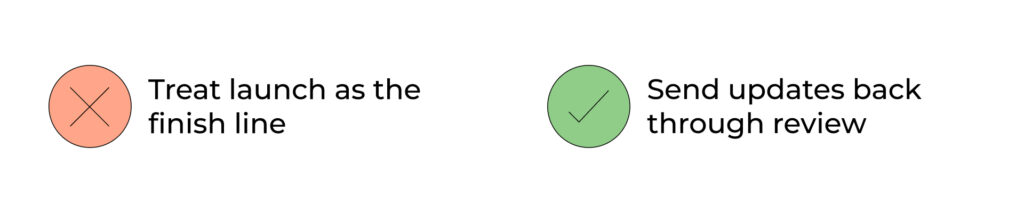
And remember that a website is never really finished. New pages and updates will come sooner or later, so when they do, send them back through the workflow, or at least through review and approval.
Who’s involved: developer, project manager, marketing or SEO team.
What you get: a live website and a list of improvements for the next round.
Web Design Workflow Cheat Sheet
| Step | What happens | Who’s involved | What you get |
|---|---|---|---|
| 1. Discovery and brief | Goals, audience, scope and deadline | Client, PM, lead designer | Signed brief with final approver |
| 2. Sitemap and content plan | Page structure and keywords | UX designer, SEO specialist, client | Approved sitemap |
| 3. Wireframes | Page layouts without styling | UX designer, client | Approved wireframes |
| 4. Content creation | Real copy for every page | Copywriter, SEO specialist, client | Approved copy |
| 5. Visual design | Mockups and design system | UI designer, client, brand team | Approved mockups |
| 6. Development | Site built on staging | Developers, designer | Working staging site |
| 7. Internal QA | Links, speed, SEO and accessibility checks | Developer, QA, designer | Clean site ready for review |
| 8. Review and approval | Stakeholders review the live site and sign off | Whole team, client, stakeholders | Approved website and audit trail |
| 9. Launch and monitoring | Go live and track performance | Developer, PM, marketing | Live site and improvement list |
Common Mistakes That Slow Down Your Web Design Workflow
Even with a solid workflow in place, a few bad habits can quietly slow everything down. Here are the mistakes I see most often, and what to do instead.
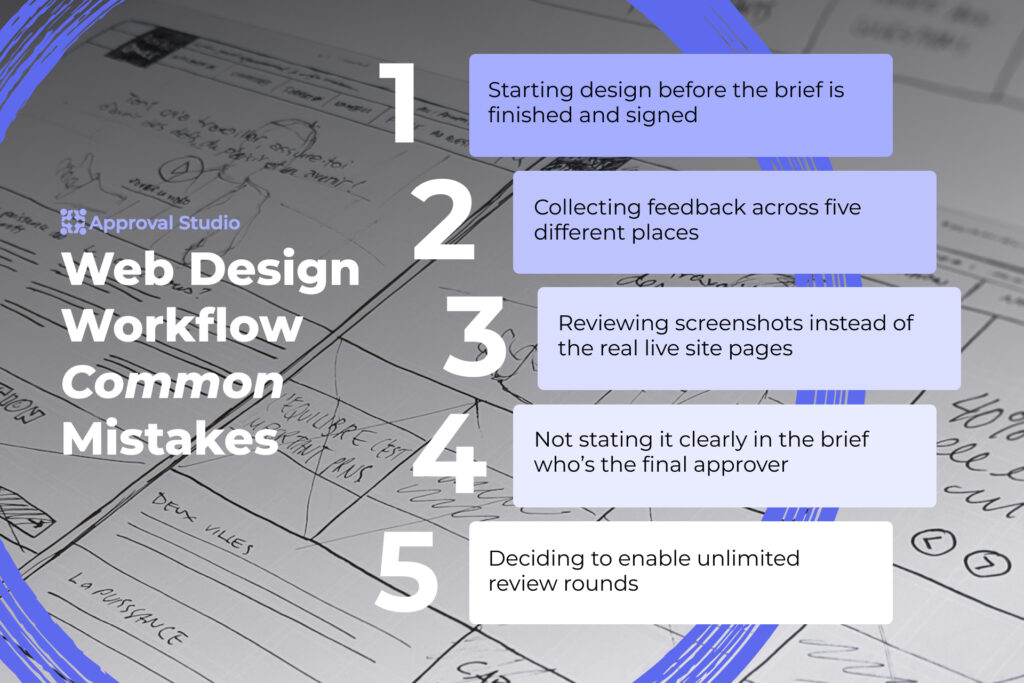
Starting design before the brief is signed.
Everyone wants to see progress, so it’s tempting to jump straight into design. But when the scope isn’t agreed on paper, it tends to change halfway through, and finished pages have to be redone. So wait for a signed brief first.
Collecting feedback in five different places.
One comment comes by email, another in Slack, and a third during a call nobody wrote down. Soon, no one knows which feedback is the latest. That’s why you should agree on one place for all comments from day one.
Reviewing screenshots instead of the real site.
A screenshot shows how a page looks, but not how it works. Hover effects, forms, and mobile layouts simply don’t show up. So once the site is on staging, ask reviewers to comment on the live pages.
Having no named final approver.
When several people can approve the site, the last word goes to whoever replies last. As a result, agreed changes get reopened. To avoid this, name one final approver on the client side before the review starts.
Allowing unlimited review rounds.
Without a limit, “just one more change” can go on for weeks and push your launch further away. So set the number of review rounds in the contract, and explain upfront what happens if the client needs more.
Final Words
Summing this up, a web design workflow isn’t about adding more steps to your projects. Instead, it gives every stage a clear owner, a clear goal, and an approved result before the next stage begins. This way, your team spends less time on rework, and your clients always know where the project stands.
Of all nine steps, review and approval deserves the most attention, because that’s where most delays happen. When clients can review the live site in one place, leave comments right on the page, and sign off on time, you launch faster. And in the end, you deliver a website that makes the professional first impression your client needs.