TEAM SOLUTIONS
 WORKFLOW SOLUTIONS


 REVIEW TOOL
 PROJECT MANAGEMENT
 TOOLS & INTEGRATIONS
 CLIENT INTERVIEWS


Post is also avalible in:
![]()
![]()
![]()
I remember talking to my mom years ago. I have just started university and was so overwhelmed by everything I had to do both academically and in my personal life (living away from your parents for the first time is not a joke, and you all know it). She told me then that she wasn’t surprised in the slightest because I had no system. Later, I found this word in so many “how to be productive” videos, books, and articles. And I decided to give it a try, because surely if so many people are talking about it, it should work.
So, I created a list of tasks, prioritized them, set deadlines, and defined how to keep myself on track and accountable. Now, some years later (and with corporate jargon), I look back at that and think to myself: “Girl, it’s a workflow.”
Why and what workflow
In the end, essentially, what is a workflow? Workflow is a set of tasks and activities that have an end date, are connected by a common goal, and help to reach said goal. It’s all the same systems that help you be consistent in the gym or learn a new language, translated into your work. A goal that you have is divided into tasks that have to be finished in a certain time, by certain people, so you can reach it. It’s no different in a work environment: you just have different goals and a side quest of team collaboration.
I’ll be giving you two types of examples throughout this article: one from a personal life perspective (learning a language) and the other from a design agency working on new artwork, so it’s clearer how certain aspects of the workflow are shown in both what we call “a system” and “a workflow.”
So, why do you need a workflow? Answering this in relation to a personal goal is easy. Learning a language without a system is like trying to continuously hit your hand on the table, hoping the molecules will miraculously miss each other and your hand will pass through. Useless, and eventually you’ll have a fracture. However, creating a system gives you the needed knowledge, tools, and time to try to actually attempt quantum tunneling. And your chances go from impossible to attainable.
Not only do you make your chances better, but you also get more time to actually do your work. Which, in turn, results in faster delivery, fewer errors, and very happy executives. What’s not to love?
How workflow?
Well…There is one thing. Making a workflow for the first time is a real pain in the neck. Especially for the first time. It took me almost a year to perfect a workflow for my studies and my life. Unfortunately, not everyone (especially in business) has that kind of time. Luckily, you have me! Let me walk you through three stages and a half of workflow creation.
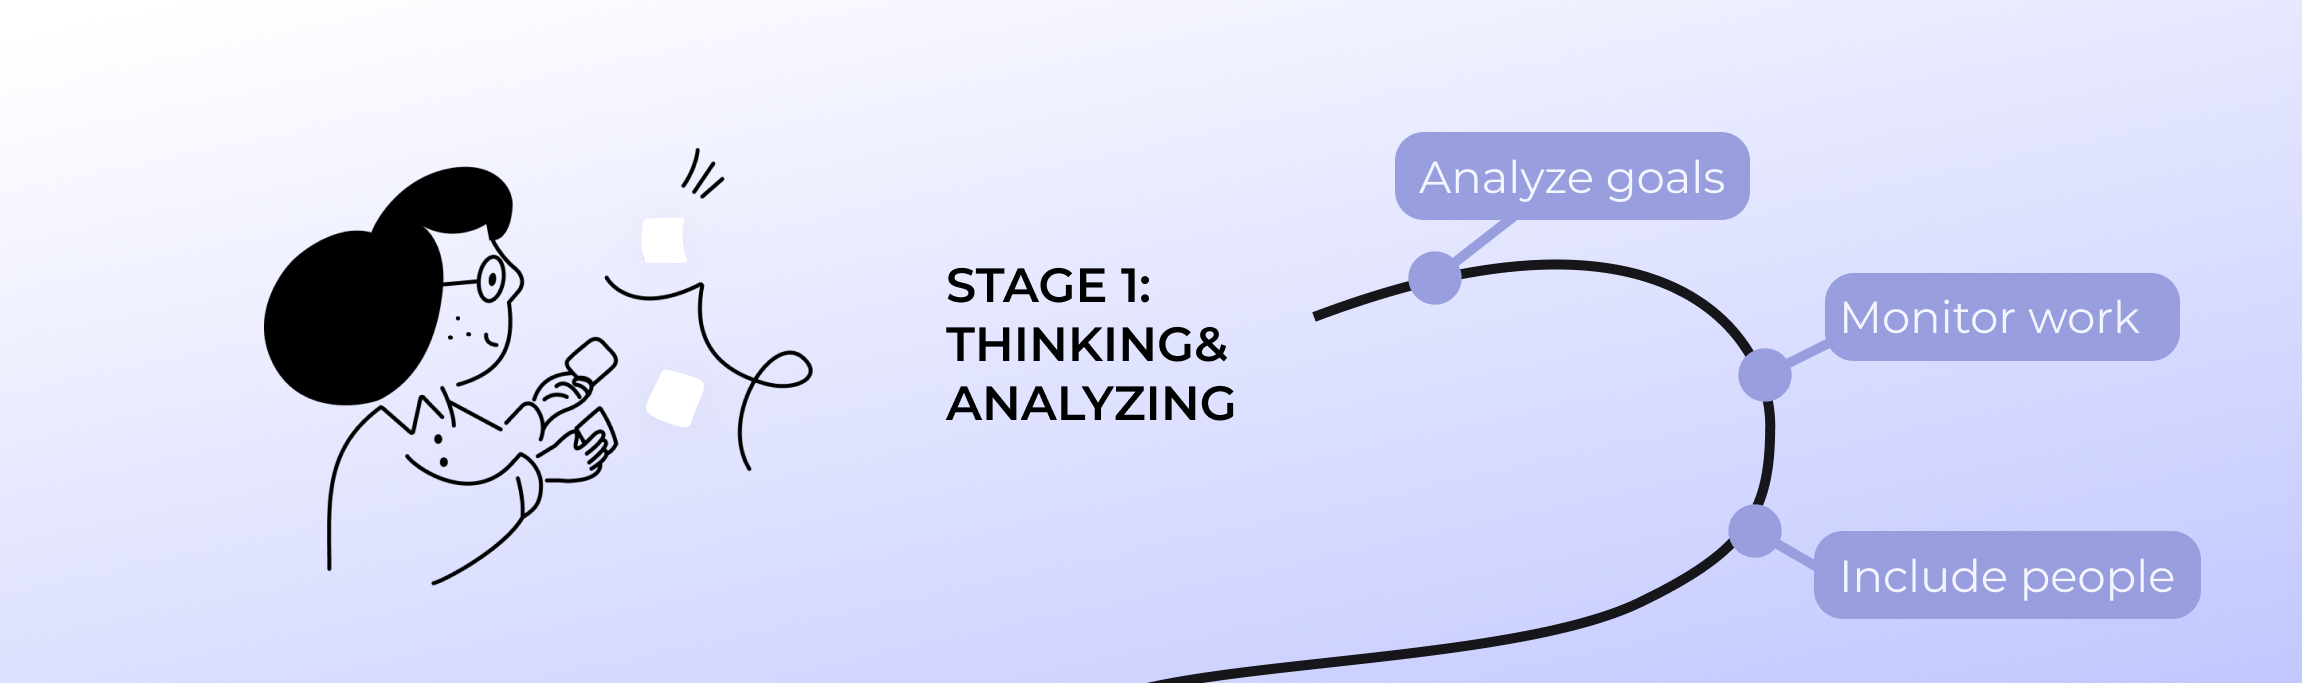
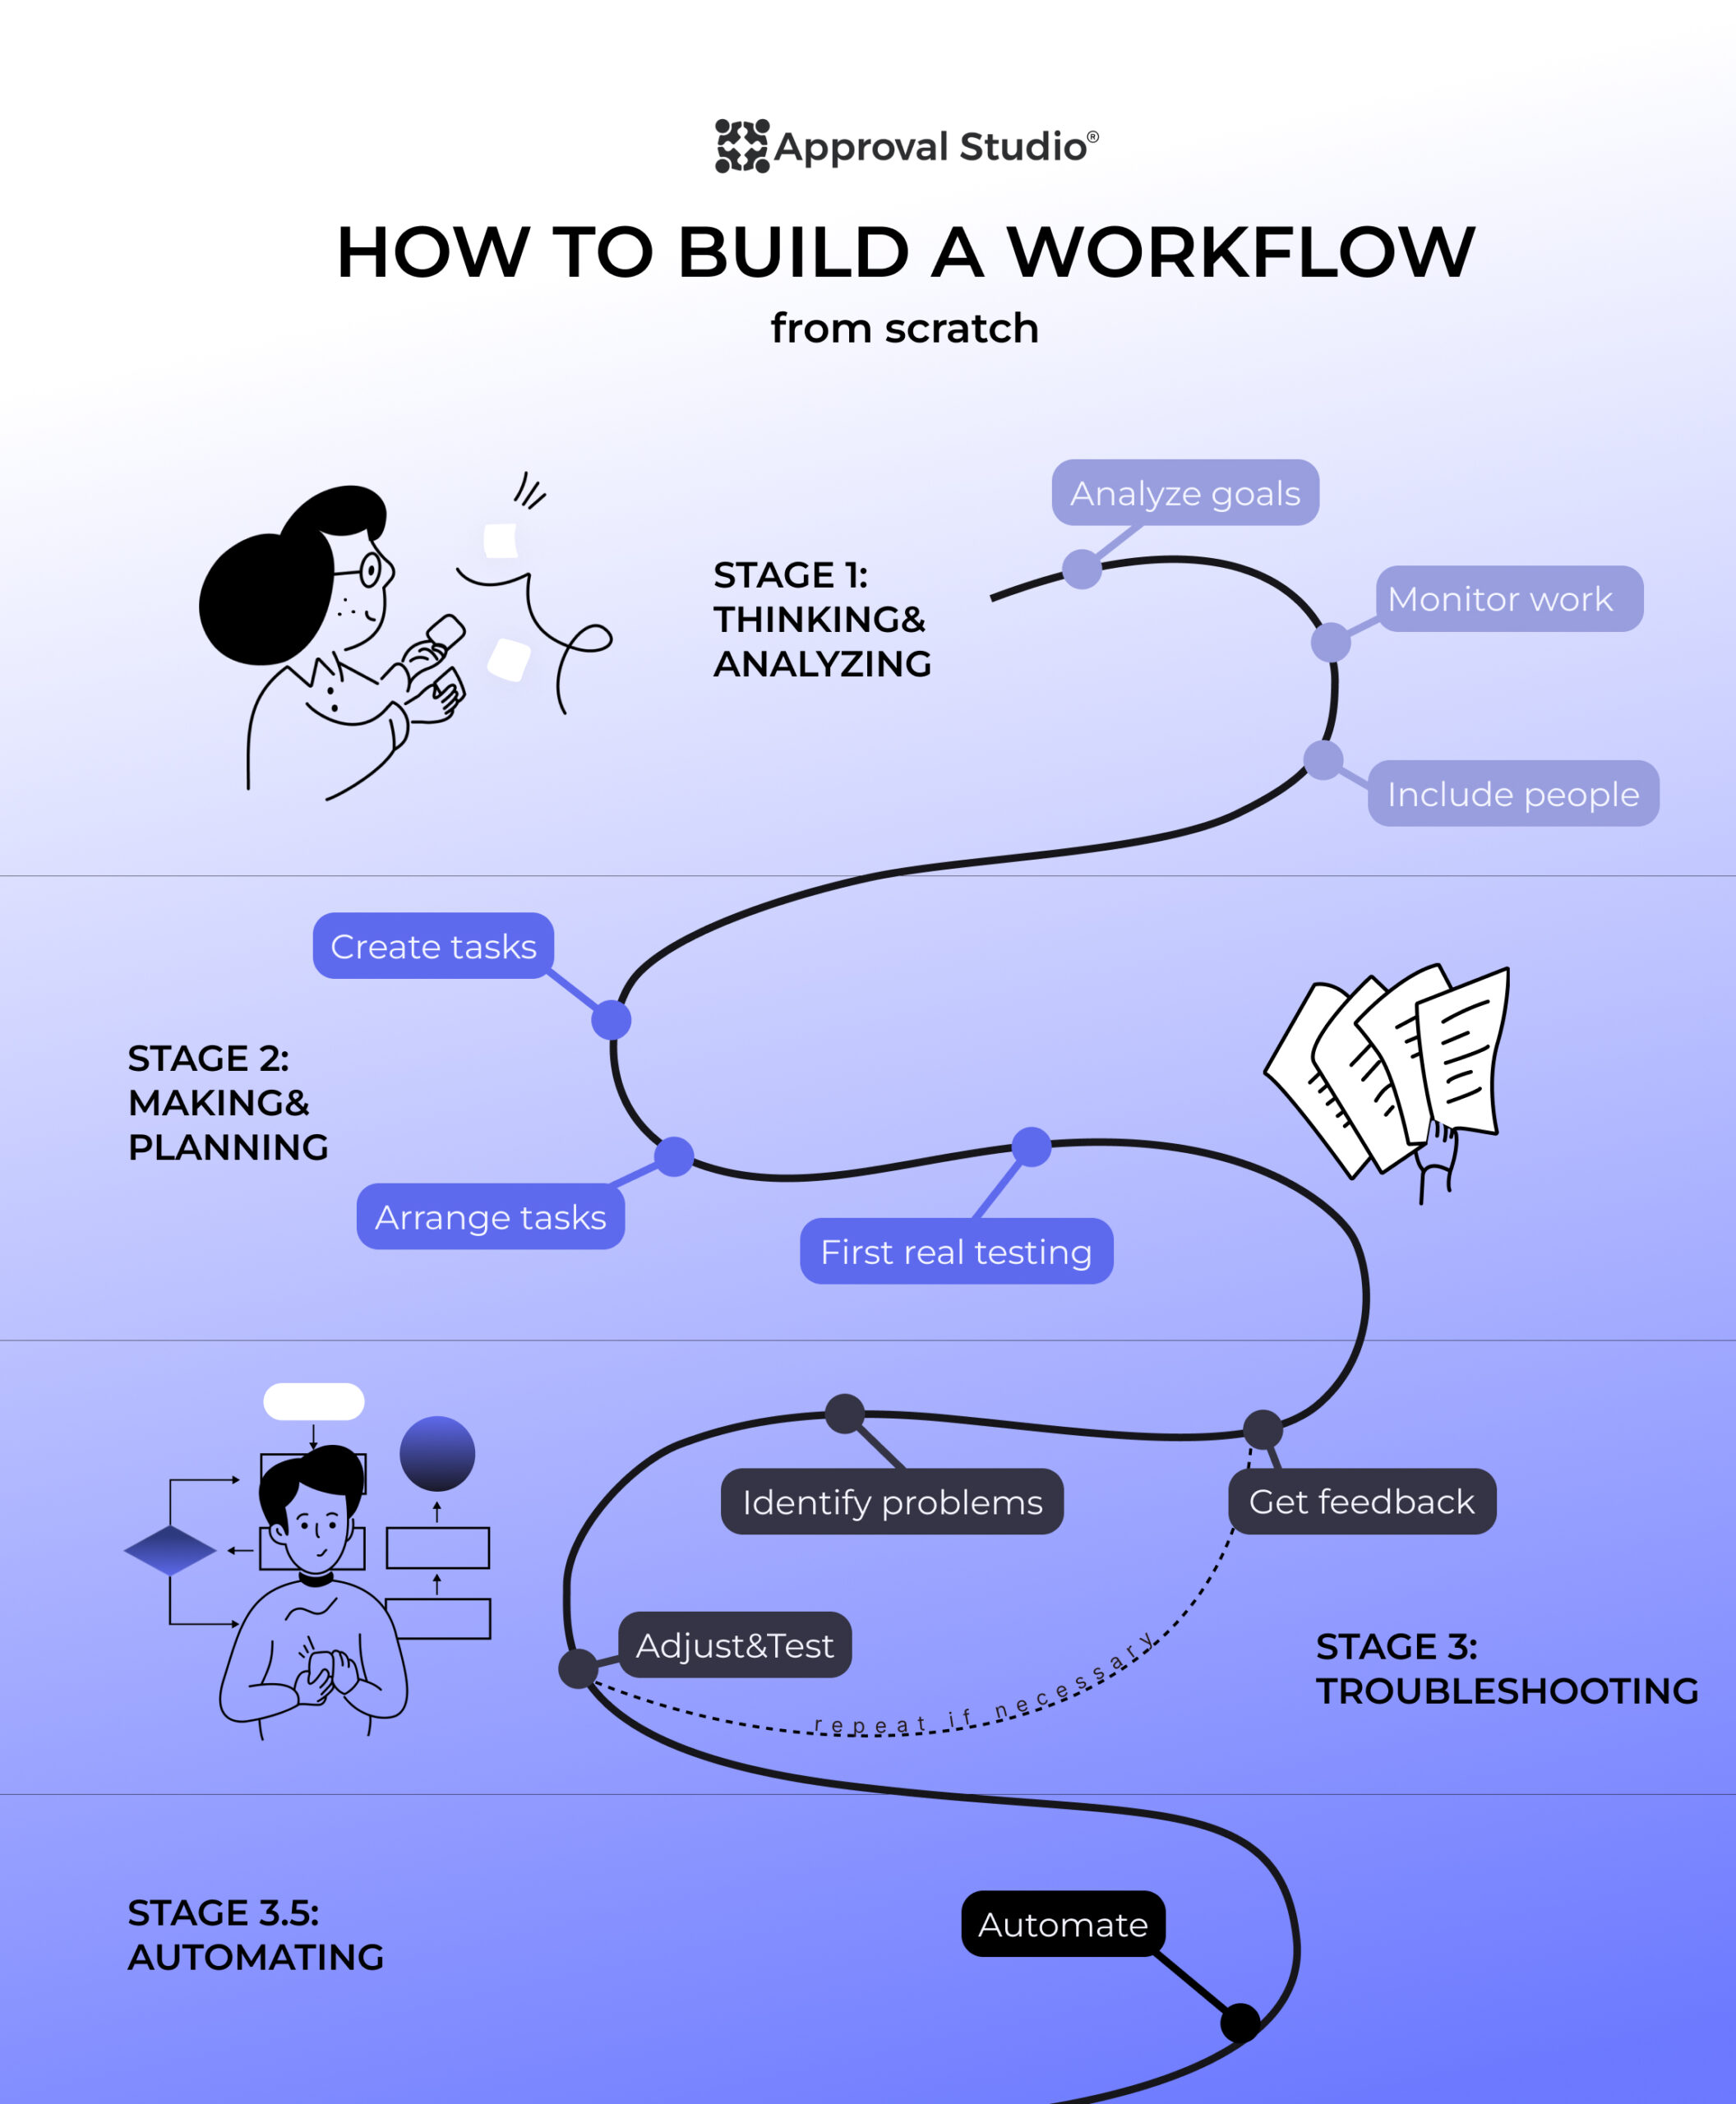
Stage 1: Thinking&Analyzing
This stage is crucial because its quality determines how many times you will need to adjust a workflow later. Here, your main task is to observe and analyze. As with any other stage, this has three main components: analyze goals, monitor work, and include people.
Let’s discuss each in more detail.
Analyze Goals. We’ve discussed that the workflow’s main objective is to reach a goal. So, naturally, the very first step is to understand what goals you have. Learn a language, pass an exam? Launch a campaign, sell a t-shirt, or make a brand book for a client? A well-defined goal is the best first step.
Monitor work. Next, you become a silent observer, a ghost of the present Christmas if you wish. Your main task is to understand what you have to do to reach that goal. What, how, where, and how long you’re doing stuff to get to the final result. What do you have to do, or want to do? What tools do you need for each step? Basically, you have to create a list of tasks (not necessarily in the right order), deadlines for each task, and tools as well.
Include people. Now that you have the what, think of the who. In personal life, you should think about everyone who is involved in your learning process (you, teacher, tutor, study buddy, motivator). There isn’t a role too small or too big. In a professional setting, you might think about how many people the design has to go through to be ready (designers, approvers, clients, stakeholders, etc.) The last part of this task is to associate each person with a specific task from step 1.
Stage 2: Making & Planning
You can proceed to this stage, now that you have a list of goals (or one goal) and a vague list of tasks, where each is associated with a specific person. Now, is the planning stage, or how I like to call it, Making&Planning. It also consists of three steps: create tasks, arrange tasks, and first real testing.
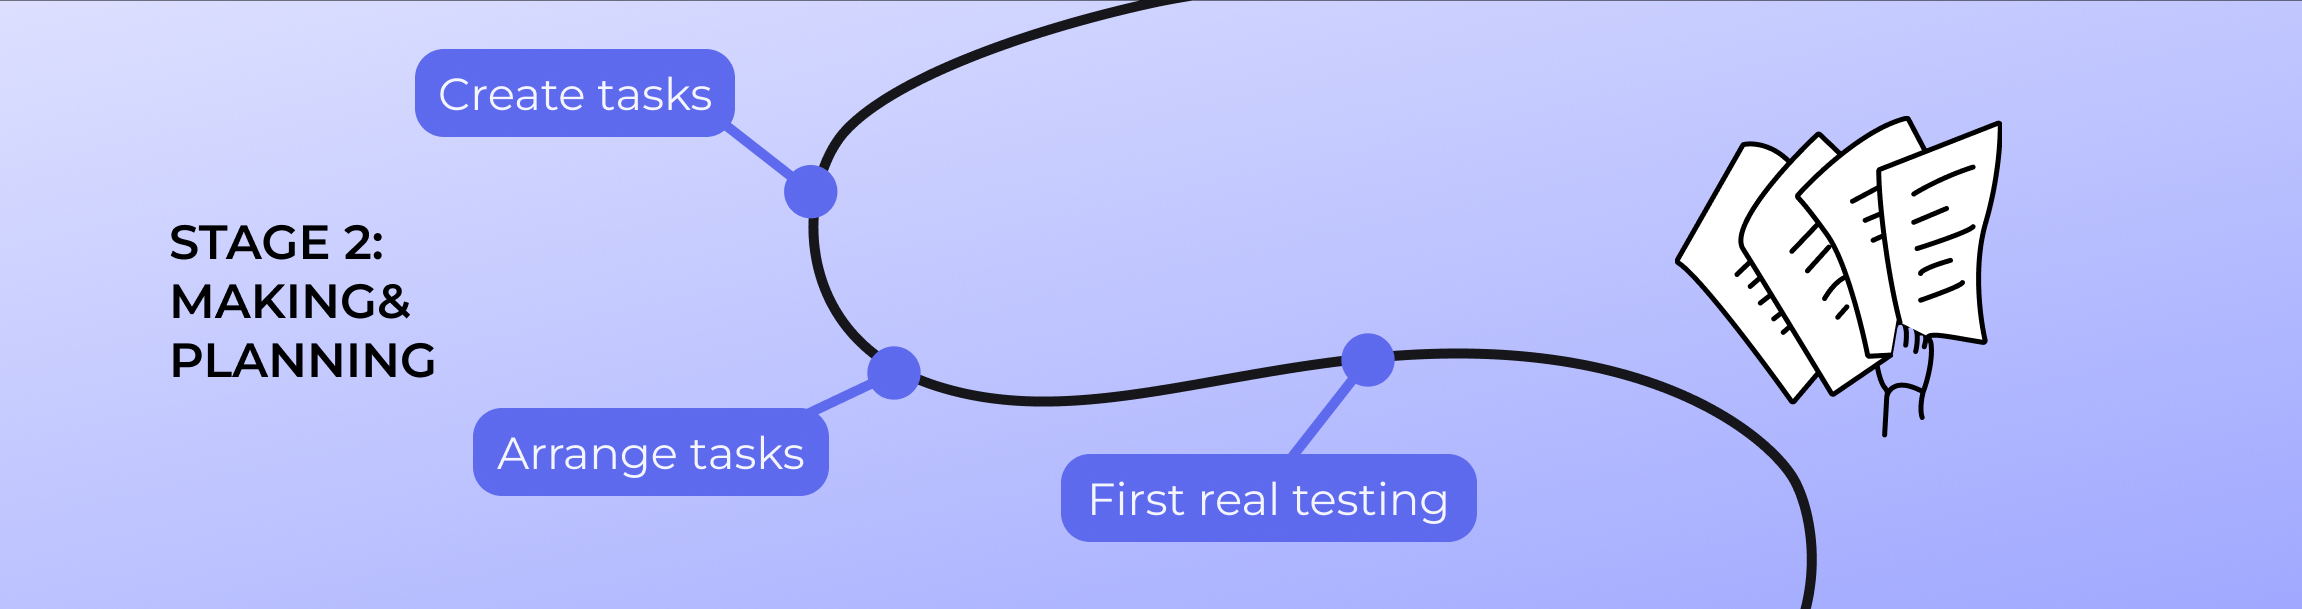
Create tasks. You might be confused now. But we already have tasks? Yes, but…They don’t have any particular order and can seem confusing. Your main job in this step is to make them orderly, add a deadline, a tool, and a person to each. For example, before you knew that you had to study 3 times a week with a tutor. Now, you know that you have to study on Mon, Thu, and Sat at 6:30 pm with a tutor from school ABC on Saturdays online.
Arrange tasks. This step can be a part of the previous one, as well as separate. At this point, your main objective is to understand the priority and urgency of each task and sort them accordingly. This is when you do a first thought experiment of your workflow. How will these tasks have to be acted out in a real-life scenario? Imagine yourself going through them step by step and considering what feels wrong.
First Real Testing. Yay! You’re finally on the finishing line and can test your workflow from start to finish. Depending on the goals, this testing period may vary. If it’s our personal goal example (language learning), you may test it for a week, as the goal is long-term. However, if it’s a smaller goal (for example, you’re a business that sells custom t-shirts), you can test the whole workflow from start to end and really get a grasp of it.
Stage 3: Troubleshooting
As much as I would like your workflow to be from the first try, the chances of that are very low. Most likely, during the real testing, you will encounter gaps, or you might be unsatisfied with the results. That’s why this stage is crucial. Let’s discuss its three steps: get feedback, identify problems, adjust.
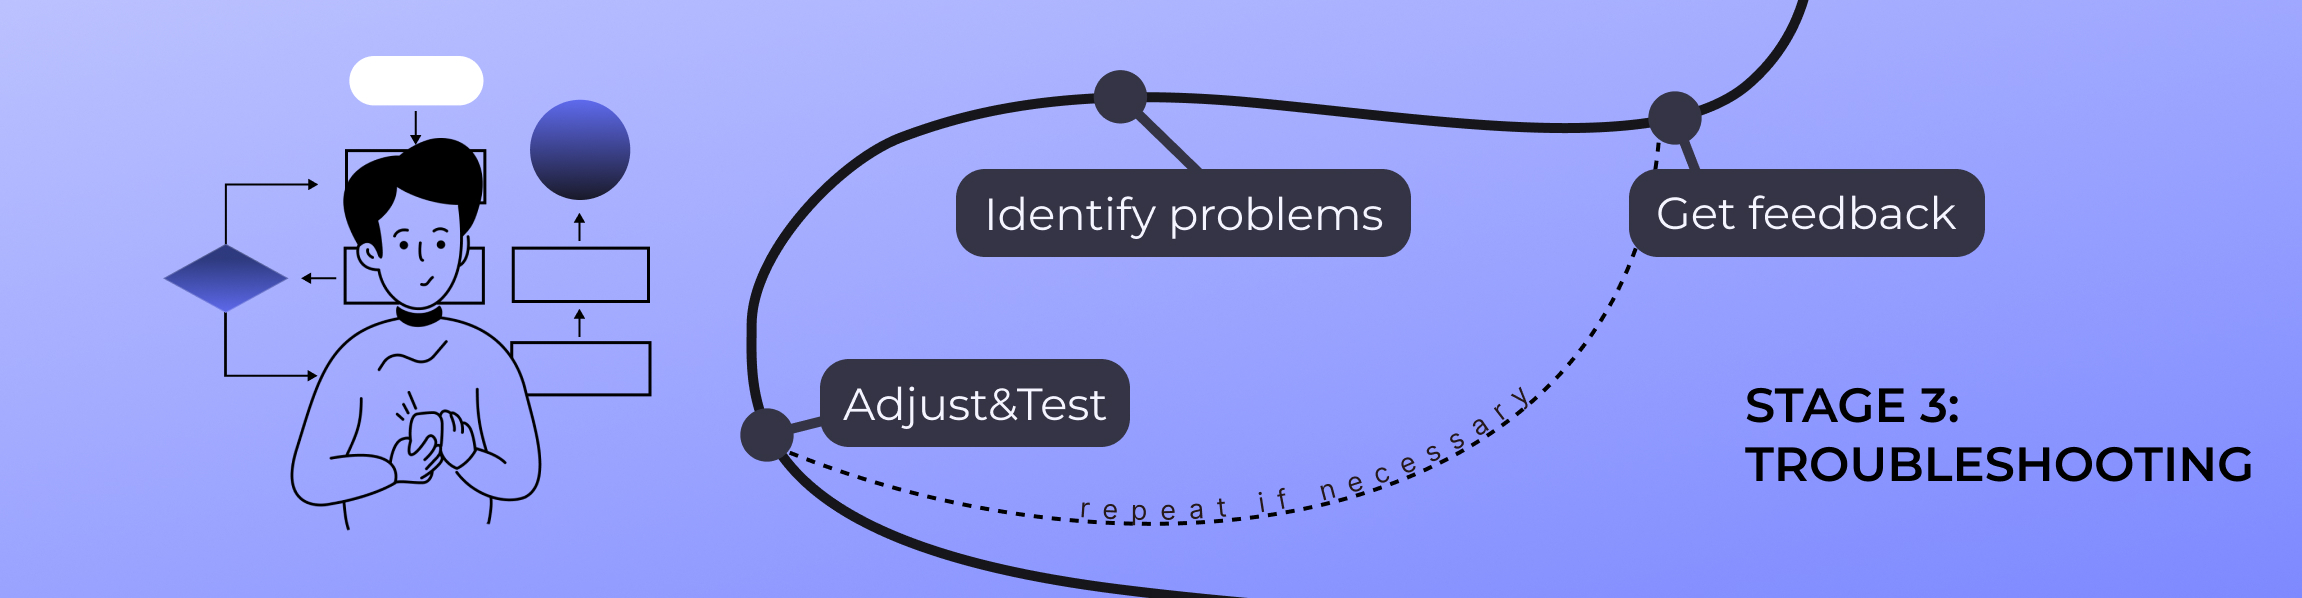
Get feedback. Usually, people (or even you) will have thoughts on the new processes. It is important that you write them all down. Whether it was a passing comment, a feeling of despair or stress, or overwhelm. Gather everything in one place without cutting the testing period short.
Identify problems. Now that the testing period is over, you can go back to that feedback and analyze it. Understand when it appeared, was it connected to a certain task/person/deadline, how many people reported it, and how it influenced the goal as a whole. It would be even better if you could speak directly to a person who left that feedback again to help you find the root cause of why it went wrong.
Adjust. Now that you have the where [it got wrong] and why [it got wrong], you can adjust your workflow, however necessary. Shuffle some tasks around, add new ones, remove others, and have new assignees join. You can do it until the workflow feels right. Then, come back all the way to the 3rd step of the second stage and repeat until perfection.
Stage 3.5: Automating
This is an extra step; however, it might be as crucial as all the preceding. You see, it can be a little difficult to monitor the workflow if it’s just in your head or on paper. Here’s why magical systems have been created to help you not only monitor the workflow, but also automate it.
How does this automation work? You input your workflow steps into the system, and it pushes some tasks that require little to no intervention. For example, in language learning, the system may automatically schedule the next classes or create a homework task after each. For design workflows, the system will create new tasks, automatically send them to the assignees, or start processes needed for the next step.
And all that with little to no input from you. That’s why I love automation. It actually gives me time to focus on my work, not on administrative tasks. So, what can you use as a workflow automation tool?
Best workflow management tools
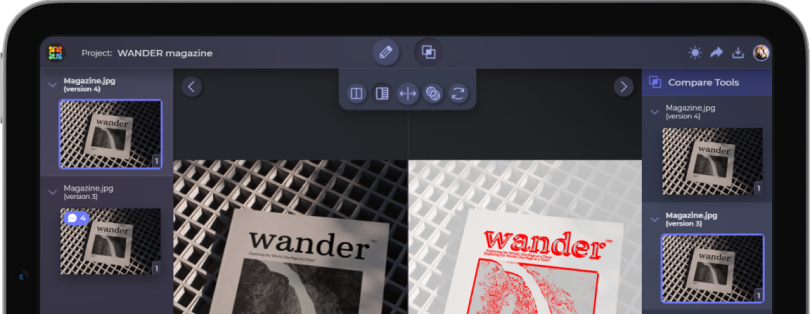
Approval Studio
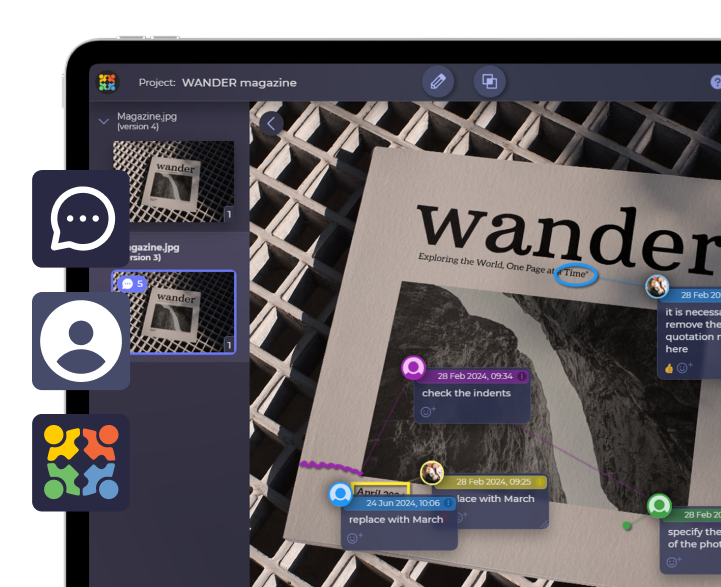
When you start to think about where design workflows usually break, it’s almost always at the feedback stage. Approval Studio fixes this for me with in-context annotations. I don’t have to guess what “this looks odd” means, because the comment is pinned to the exact element. Deadlines and automatic reminders add to the tight workflow. However, the best part is the automation. Approval Studio allows you to add specific steps of the workflow and automate it for the system to do certain tasks for you.
Unsure how to automate a design workflow?

Try out Approval Studio’s trigger-action workfows
Start a Free TrialFilestage
Filestage automates is similar. It designs workflows by turning review logic into rules. Multi-stage approval flows ensure files move forward only after the right people sign off, without manual coordination. Each stage has predefined reviewers and deadlines, which means the system pushes the process along. Status changes like “Changes requested” or “Approved” happen automatically based on reviewer actions. You don’t need to interpret feedback states or send update messages; the workflow communicates its own progress.
Zapier
Zapier is pure workflow automation, even with tools that seemingly do not seem to support that. It connects design tools through trigger–action logic, so steps happen automatically instead of manually. When a design is uploaded, Zapier can create a task. When approval is granted, it can notify Slack, update Notion, or move a file to storage. I often use conditional paths to automate different flows for internal and external approvals.
Notion
Notion automates workflows through structure rather than actions. Database properties automatically update statuses, owners, and deadlines as work progresses. Templates automate project setup, so every new design task starts with the same checklist, fields, and review steps. Automations inside databases can assign tasks, change statuses, or notify teammates when conditions are met. This turns Notion into a lightweight workflow engine, not just documentation
Slack
Slack automates workflows by acting as the delivery layer for everything else. Through integrations and automated notifications, updates from approval tools, task managers, and automations arrive instantly without manual forwarding. Workflow Builder can automate simple actions like routing requests, collecting information, or notifying specific teams based on triggers. Automation here is about timing. The right message reaches the right people at the right moment, without extra effort.
Final Thoughts
A good workflow consists of three (and a half) solid stages. And the better your work will be during these stages, the easier the workflow will be in all the upcoming projects. Surely, things change, but the beauty of the workflow is in its flexibility. The third stage is the one that will stay with you forever. Troubleshooting and adjusting can be done every year to correctly reflect each of your goals. And if you ever need to automate them, Approval Studio will make your design goals go faster and more efficiently.