Approval Studio Pro is a tool to manage the internal team and communicate with clients. In this article, we’re digging into its essence and show you how it works.
While working on Approval Studio logic, we were trying to create a single tool for managing the internal communication and project management and communication with the client. That is something we call Approval Studio Pro – it has internal tasks, reference documents storage, assets sections and ability to invite external users to review the visual artworks.
This tool will be ideal for those teams that do not yet have a formal workflow and project management\task management system adapted to their needs. Later, we released another version – Approval Studio Lite, for those teams, that already have the tools to manage their internal processes, such as Basecamp, Asana, Trello, Jira, Capsule. The Lite version allows to facilitate the artwork review process with the clients or within the team without extra headaches – upload artwork, share it with anyone – your colleague or client, get fast feedback and keep on working.
Today, we want to tell you about Approval Studio Pro and the ways you can use.
You`ll see the example of external and internal reviews and proofing, the ways to get quick feedback on your graphic artwork, and this workflow is the same for graphic design, interior design, logo, printing advertising, digital creatives and so on.
Developing Approval Studio, we were trying to create the most efficient proofing tool possible. Our main priority was to make workflow convenient for both – a creative team and for their clients.
So, here’s a short manual on how our proofing system works:
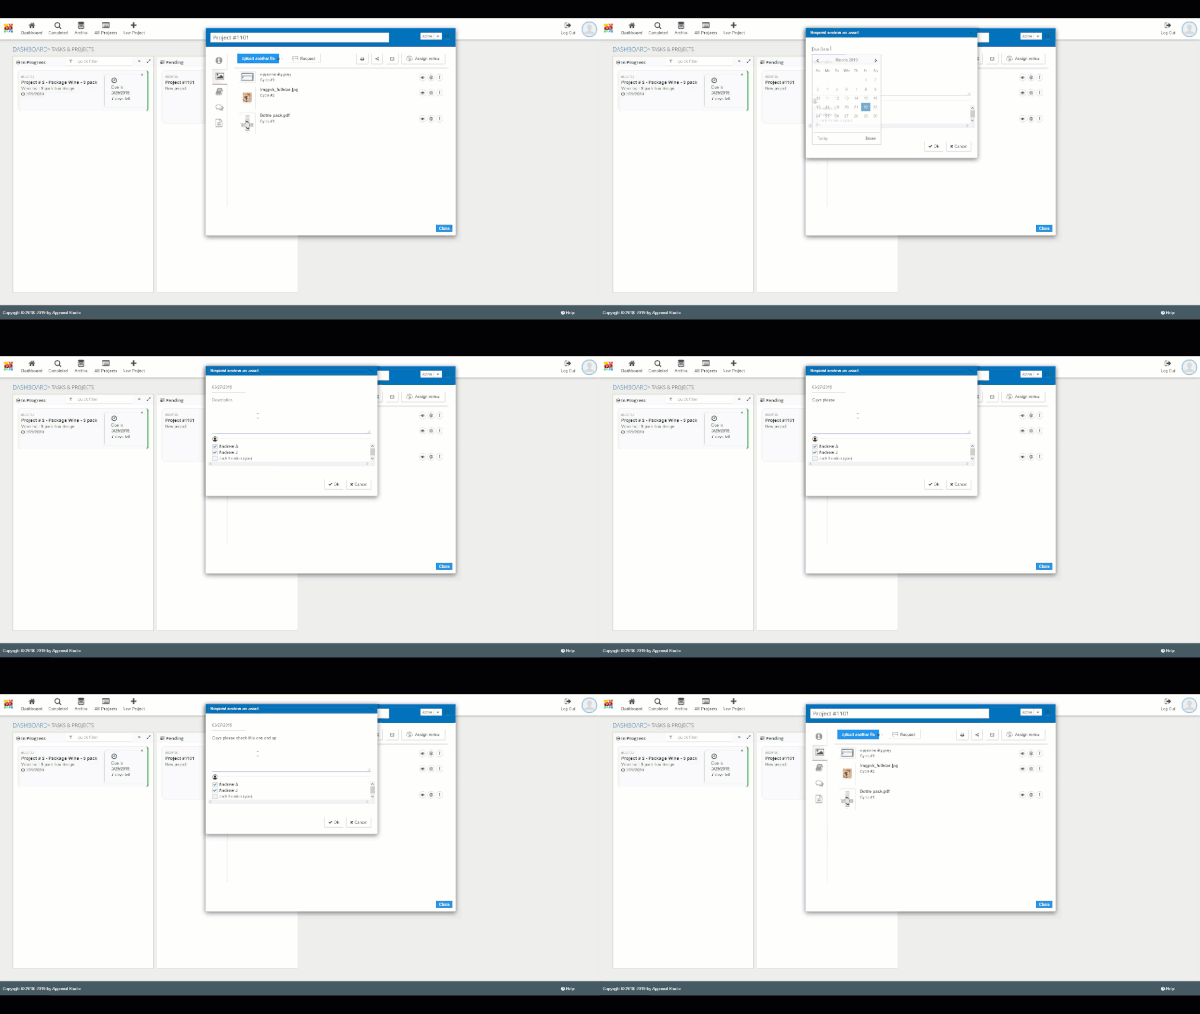
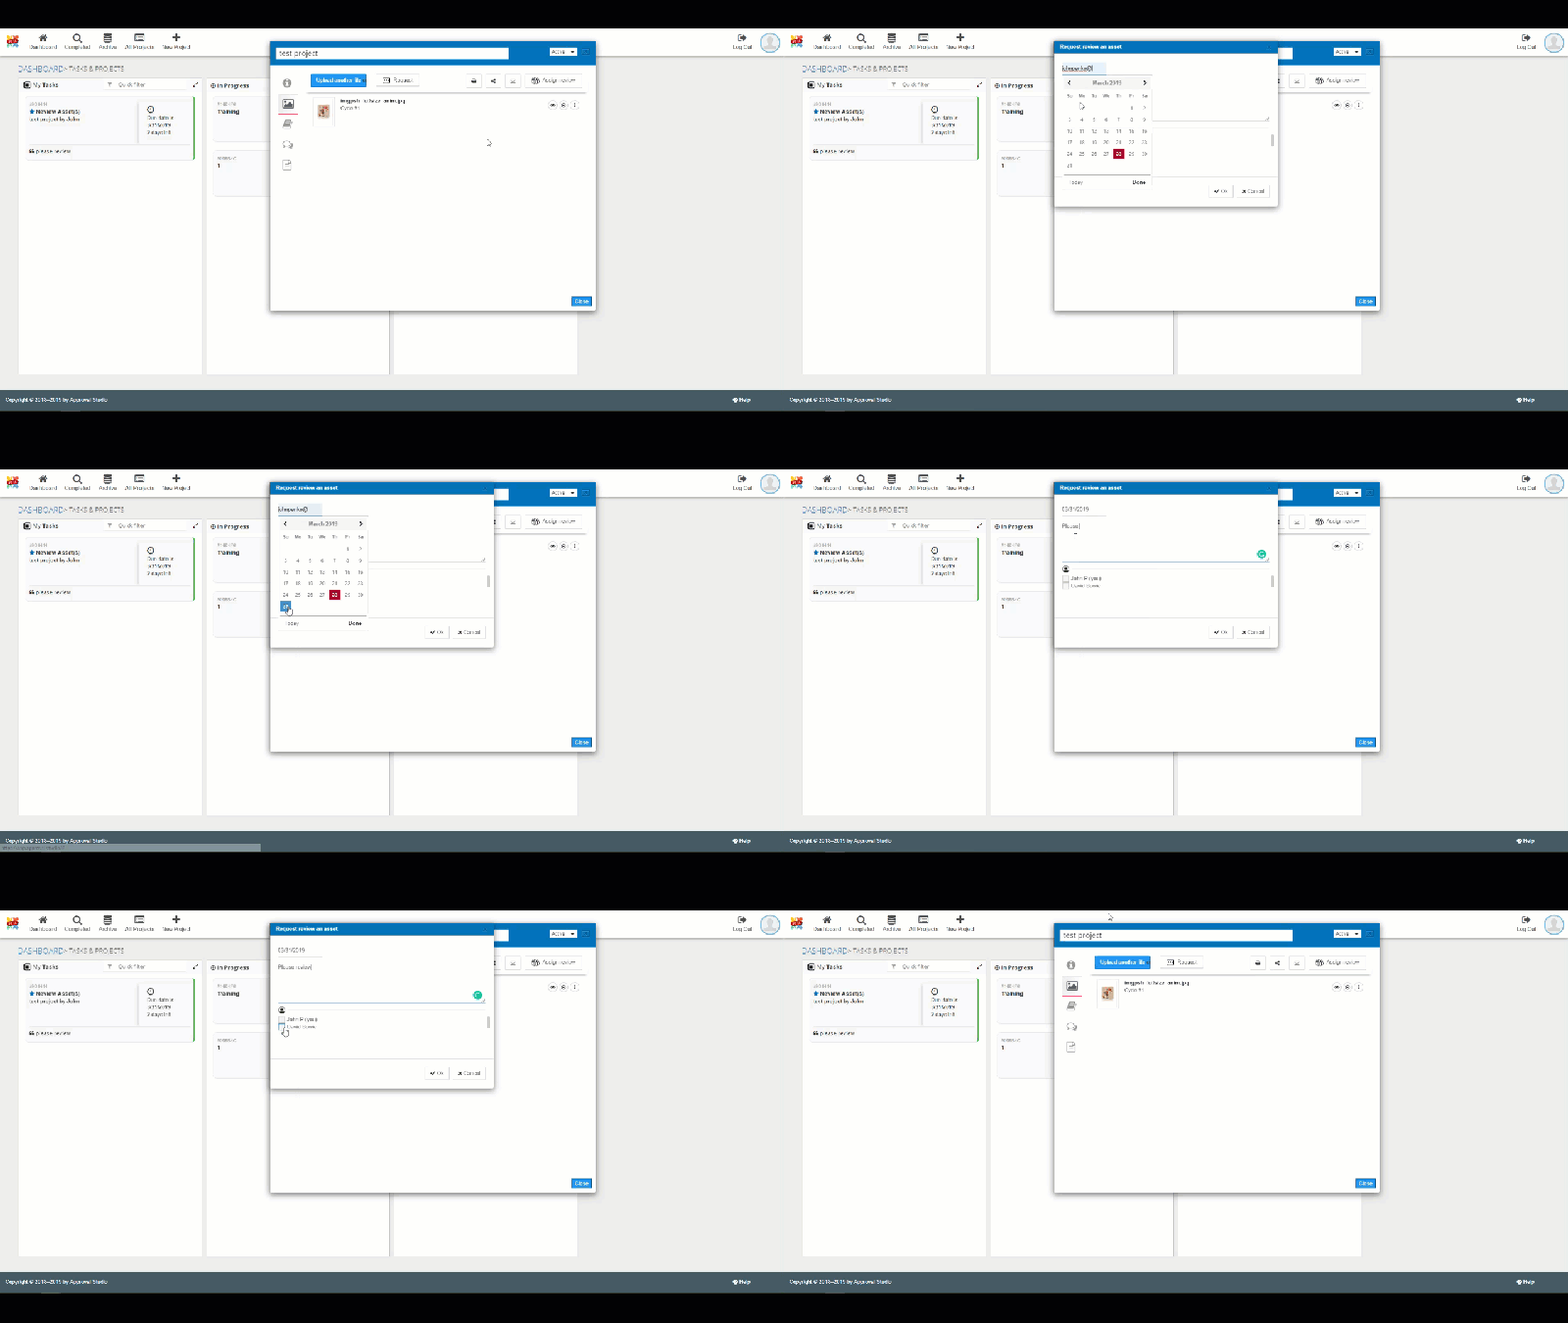
- After you create the project and upload the artwork, you can assign a person within your team to review it. To do this, you have to click on Review icon and choose the person you want to review the asset. You can also set a deadline.

- In the proofing tool, you can highlight an object in the artwork using a shape of circle, square, dot, or a free shape and add an annotation to it. To do it, go to Annotate mode. Other reviewers will be able to see this annotation and respond to it. All communication is “live” – you do not have to reload the page to see your colleagues response.

- After you finished the first cycle and your designer has improved the artwork according to the feedback, you can upload the second version to the project, using the Request Change feature. Once several versions are uploaded, you can use Compare feature that has 4 different modes: Side by side, fader, difference, and toggle.

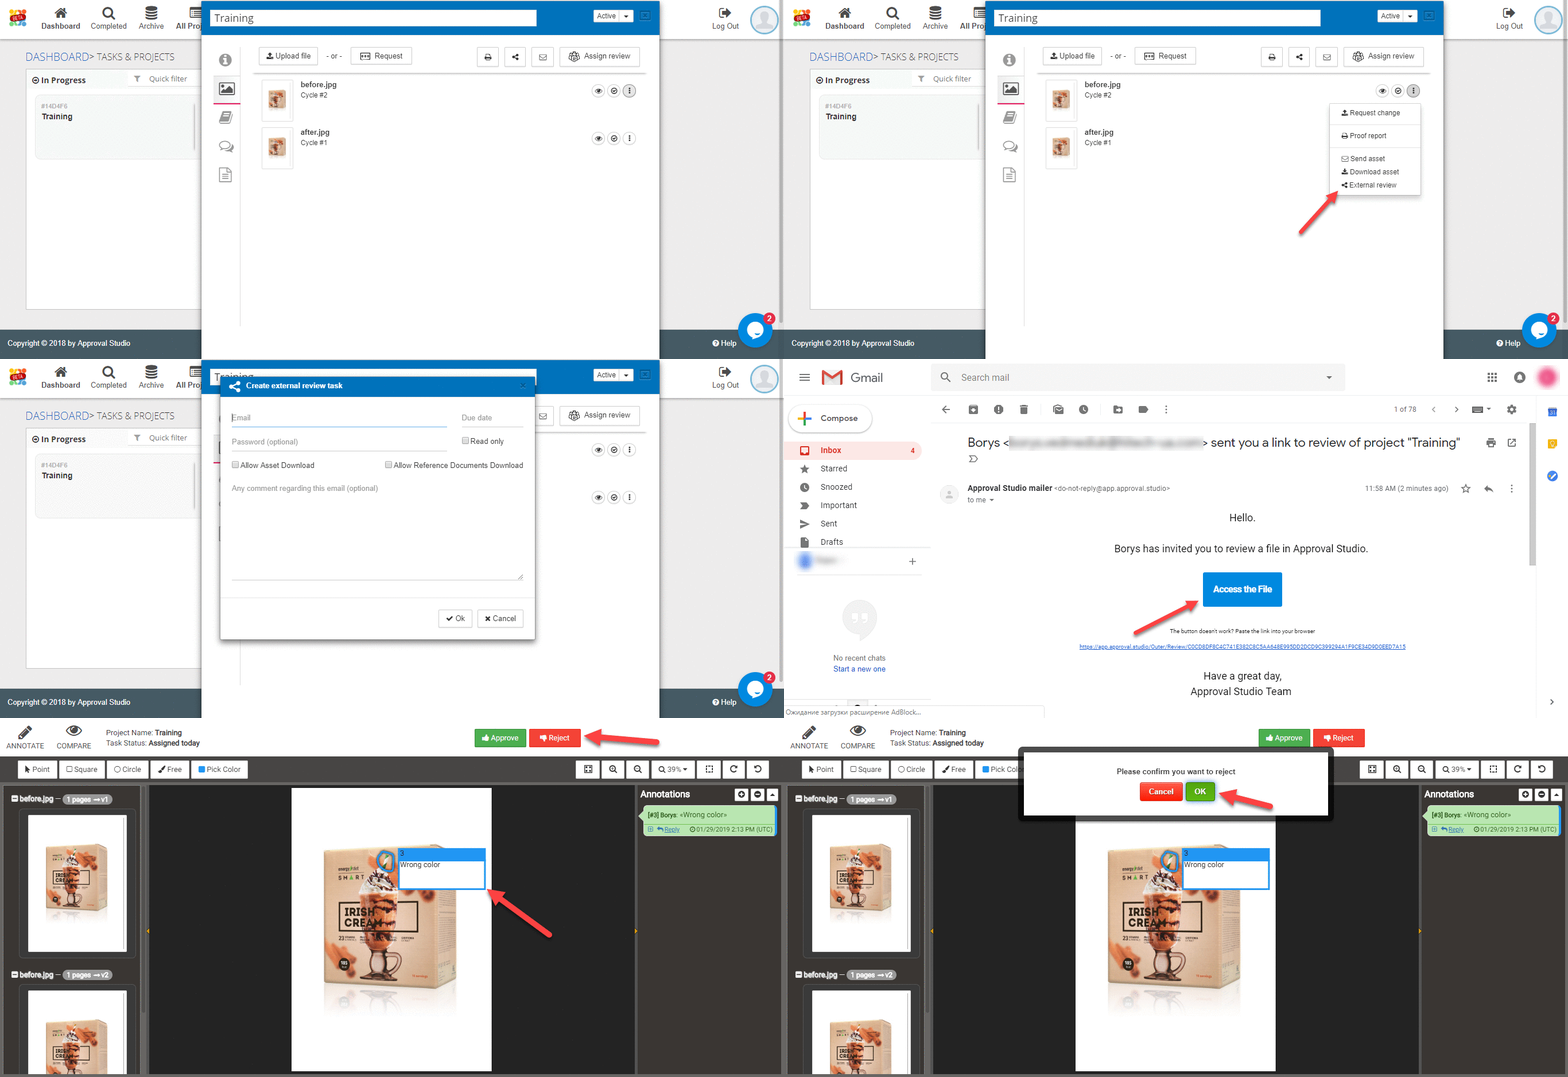
- When you are ready to send the result of your work to your client, you do not need to have them registered in the system. Our proofing tool has an External review function designed specifically to make the process of client’s proofing easier. You can either email the link to your client directly from Approval Studio or copy the link to the asset and send it manually, using your favorite communication channel. In any case, your client DOES NOT need to create an account in Approval Studio.

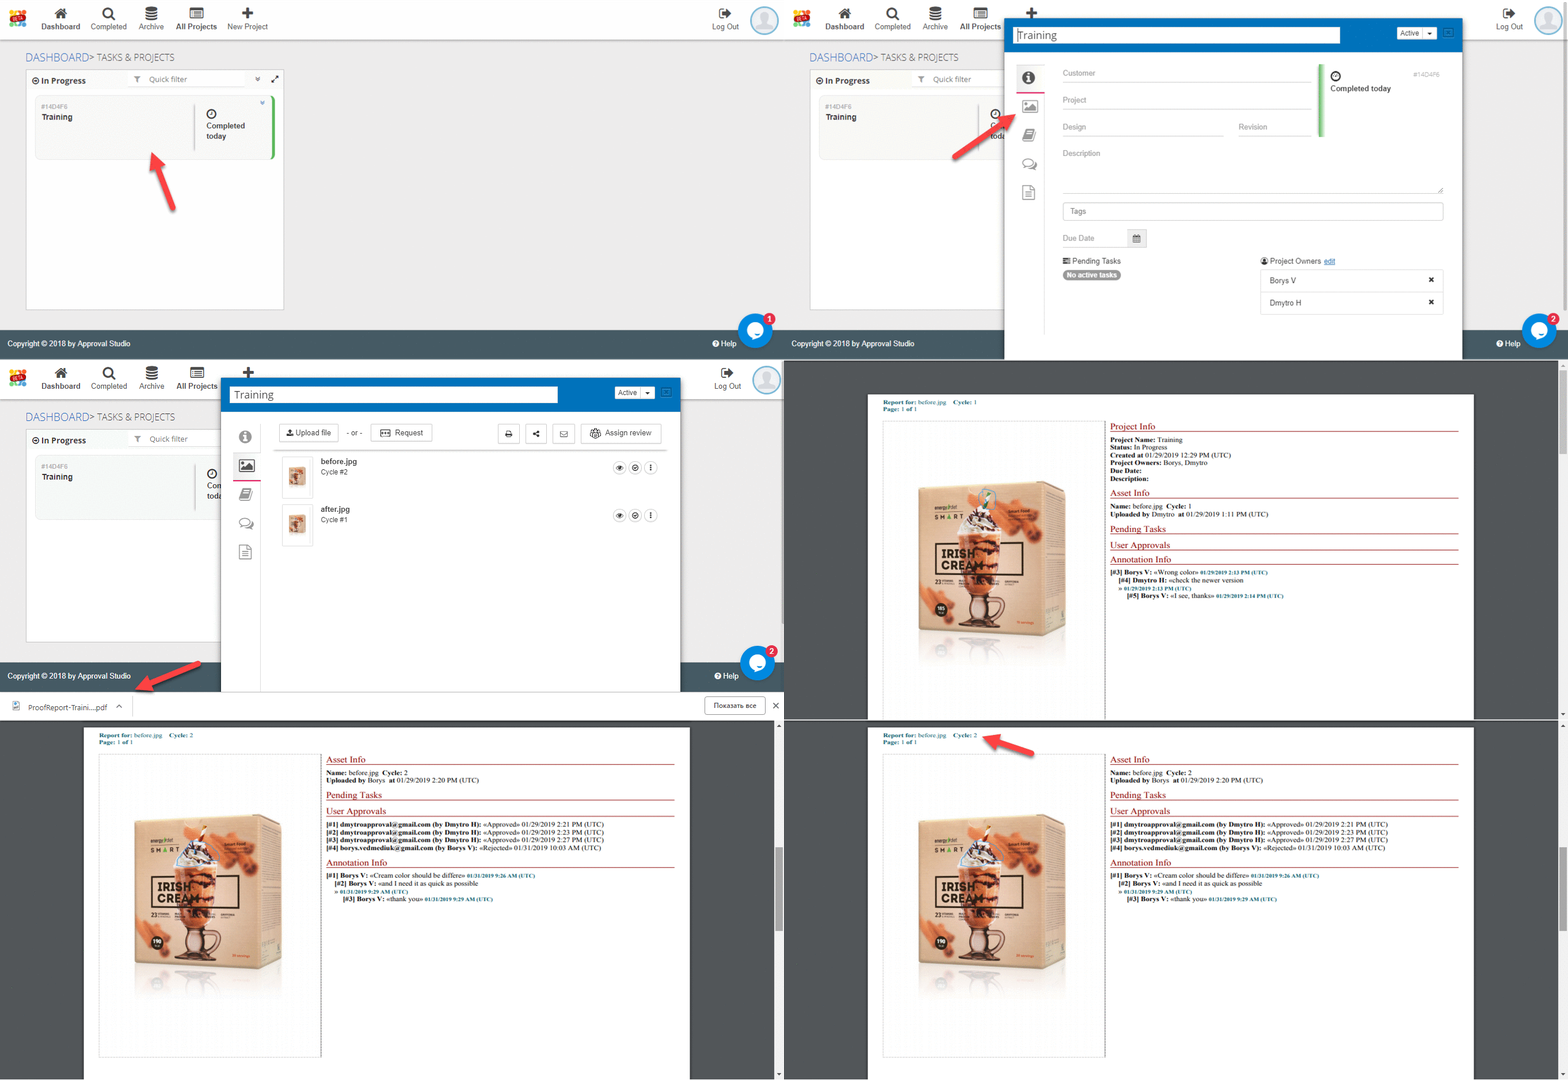
- All approvals/rejections, as well as replies, uploads, and other actions within the whole project or a single file, can be later seen in a generated report. It will help your team to track time and resolve any budget leaks or misunderstandings with clients easily.

Should you have any questions, we will be more than happy to make a free personal demo-session for you. Our support works 24/7, so do not hesitate to contact us if you have any suggestions on how to improve our proofing system 🙂
We have some more good news for our blog readers. At this moment, both Approval Studio Lite and Pro are free to use. Simply go to the Sign Up page and create an account to enjoy Approval Studio. To get the free Approval Studio Pro account, contact our support team and schedule a free demo session.

 TEAM SOLUTIONS
 WORKFLOW SOLUTIONS


 REVIEW TOOL
 PROJECT MANAGEMENT
 TOOLS & INTEGRATIONS
 CLIENT INTERVIEWS


