 TEAM SOLUTIONS
 WORKFLOW SOLUTIONS


 REVIEW TOOL
 PROJECT MANAGEMENT
 TOOLS & INTEGRATIONS
 CLIENT INTERVIEWS


Honestly, the number of times I’ve forgotten one crucial detail or requirement for my design project is hard to count. But I’m sure that I’m not the only one. Thankfully, such a thing as a design brief exists. It saves me (and other creatives in the design industry) so much time and brain space by having all of the project requirements in one place.
However, with all of the benefits design briefs provide, some people still don’t write them (I was one of them). It might look that taking time for planning is unessential, and it kills the magic of creative freedom. What I’ve learned is that it’s quite the opposite. Let me show you the step-by-step process of creating the perfect design brief in this article. Also, stay tuned for unique and free design brief templates!
What Is A Design Brief?
A design brief (also known as a creative brief) is a guide or a blueprint for the upcoming design project. Ideally, it should be written by the design team or team lead together with the client, for example, during their first project meeting. In other words, the brief is a starting point, something that begins the conversation and can be molded into the final product, keeping everyone on the same page.
Benefits Of Writing The Design Brief
Why do you need the design brief in the first place? Can’t we just talk with the client and discuss the project and then do what we do best – design? Well, a discussion is a base for your design brief, but taking the extra step and putting your conversation into something more structural before getting to work will bring definite benefits both to you and the client.
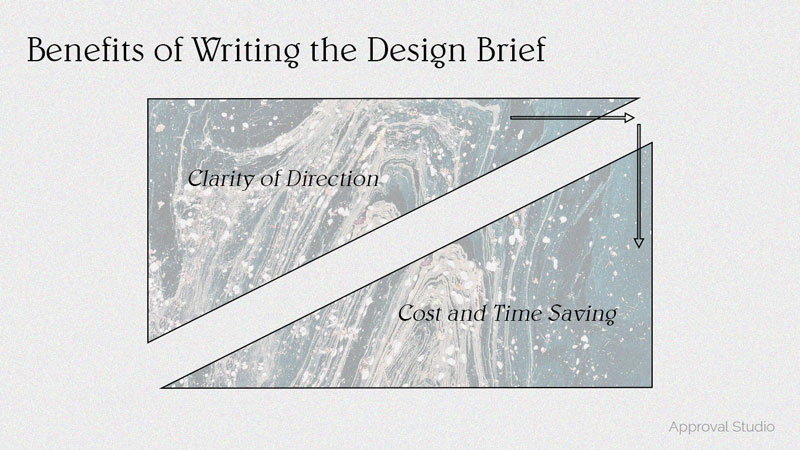
Benefit #1: Clarity of direction
Having the project overview vividly stated just in a couple of sentences would bring clarity into the creative workflow. Not only for you but for the client as well! You would be on the same page about the project and have a concrete set of expectations and a certain level of accountability. Also, It would ease the communication in the future and maintain the general guide for the whole team along the design process.
Benefit #2: Cost and time saving
How am I supposed to save time if I’m wasting it on writing the brief? I understand that you want to jump straight into the project after discussing it with the client but take a look at the brief as the plan of action for your project. With its help, you will be able to stay on track and waste less time wandering off the path. Not to mention that the design brief is a crucial reference if you work in the creative team – it keeps important information in one place so that everyone can access it and move efficiently towards the same goal. All of this saves time, otherwise spent on unnecessary activities, and – ultimately – money.
Do you know what else can save you a lot of time and effort? Design approval software! With the help of such a tool, your clients can leave annotations directly on the image, making the review process straightforward and hassle-free. It so happens that you can do this and so much more in Approval Studio: compare different versions of the file, add reference documents, keep track of changes with proof reports – the list goes on and on!
Elements Of The Design Brief
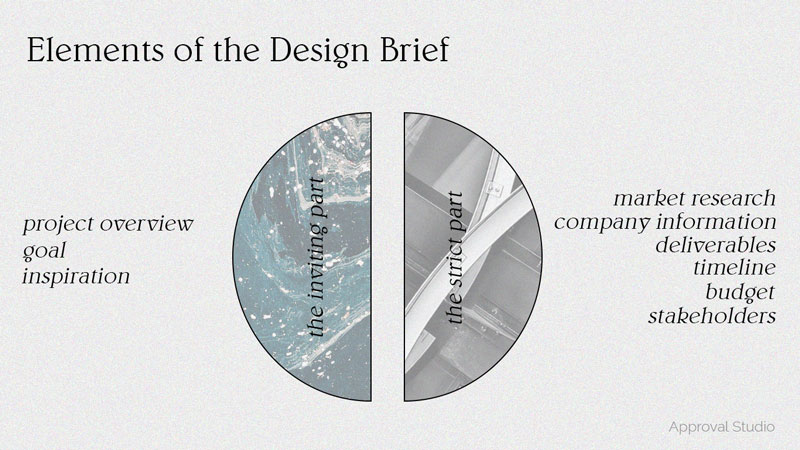
Before we go into the greedy details about what to include in your design brief, I would like to highlight two main parts: the strict one and the inviting one.
The strict part of the brief is all of the specific elements required for the project (budget, timeframe, the scope of work, etc.). The purpose of this part is to define some necessary limitations and have all of the precise requirements in one place. For example, the deadline is the 27th of April 2022, or the size of the poster is 24’’x34’’.
The inviting part is quite the opposite. It includes ideas, ambitions, and everything intangible. This is the human part that sparks creativity and, most importantly, inspires the design team to work on this project. Perfect examples could be something like “We want to inspire younger generations to be more proactive in their local areas.“ or “Our dream as a brand would be to sell not only ethically sourced coffee beans but also increase the awareness of the topic.”.
You could compare these two parts to the vessel that transports goods. The strict part is the ship itself, something that holds the items and delivers them to the client. The inviting part is the goods themselves, something valuable and the reason this boat has moved in the first place. Regardless of how silly this analogy might sound, it shows how interconnected and vital both of these two parts: the ship wouldn’t set sail without the goods, and the goods couldn’t be delivered without the ship.
Enough with the analogies, let’s take a look at the specific elements of the design or creative brief:
- Project overview: problem, context, what do we want to do.
- Goal: the aim of the project.
- Market research: target audience and competition analysis.
- Company information: a short history of the brand, mission.
- Timeline: deadlines and milestones.
- Specs: deliverables and budget.
- Additional information: stakeholders, previous experience, inspiration.
You can read in more detail about these ingredients needed to build an effective creative brief in our article The One About Creative Briefing.
Steps To Writing The Efficient Brief
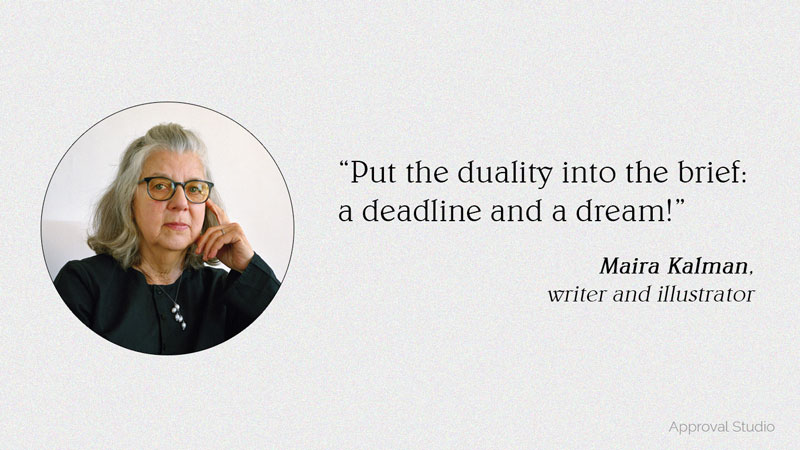
I know it’s an unpopular opinion but think of the brief as a story. You want to have an inviting and exciting part of that brief at the very beginning to lure the motivation that you would ultimately need for the whole course of the creative project. However, having the structure to the story and the more strict elements will keep you on track and shape the project.
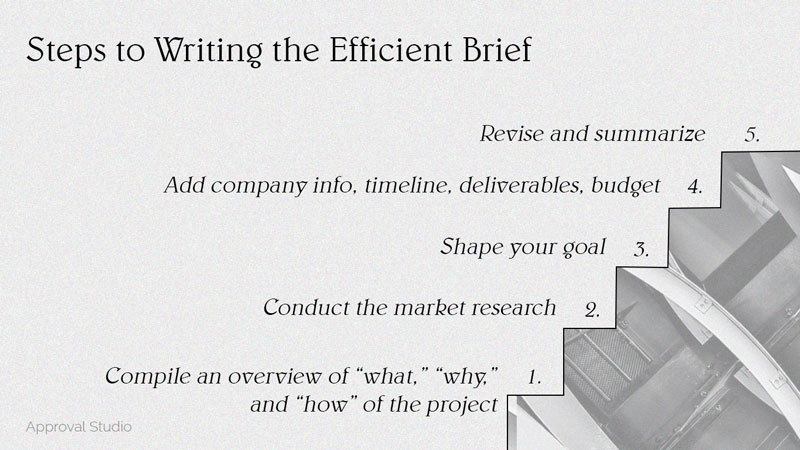
Step #1: Have an honest conversation
I advise you to start with a simple yet influential step of having a genuine conversation with your client or with yourself:
- What do you want to do? What are your ideas for this project?
- Why are you doing it at all? What is the context of the project?
- What are the problems? How do you want to solve them?
These questions are a perfect conversation starter that genuinely shows the core “what,” “why,” and “how” of the project plan. It shapes your overview in the design brief, which usually is the lengthiest part. Keeping it to the point and inspiring is essential, as this is the part that most of the designers come back to regularly get their dose of motivation.
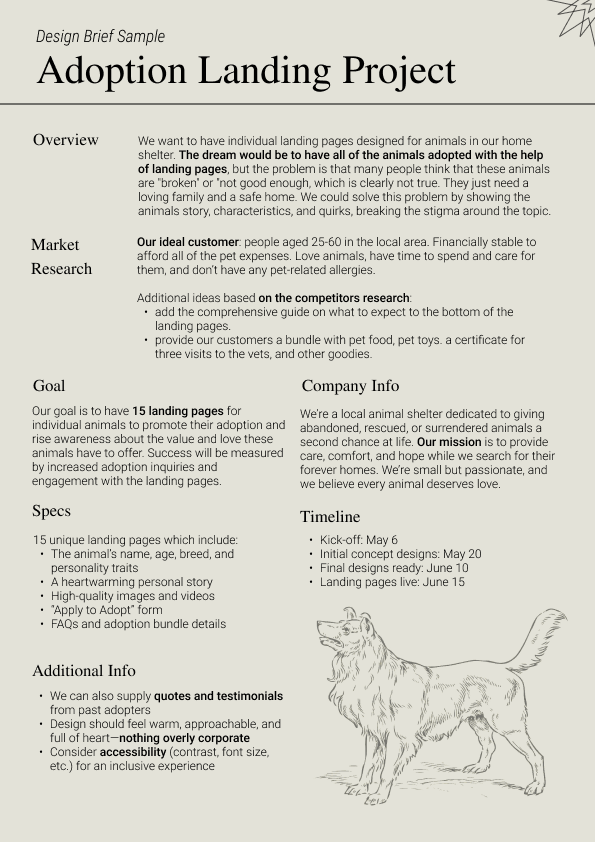
For example: “We want to have individual landing pages designed for animals in our home shelter. The dream would be to have all of the animals adopted with the help of these landing pages, but the problem is that many people think that these animals are “broken” or “not good enough,” which is clearly not true. They just need a loving family and a safe home. We could solve this problem by showing the animals’ story, characteristics, and quirks, breaking the stigma around the topic.”
Also, bear in mind that this step could quickly spiral down into fantasizing about “how are we going to save the world.” It’s not necessarily a bad thing as long as you speculate, particularly over the project (who knows, maybe some wild but innovative ideas could come up). But in the spirit of efficiency, try to stay on track, and as soon as you have fully answered the questions, just move on to the next part. Speaking of which…
Step #2: Conduct the market research
Market research usually (but not exclusively) consists of two parts: target audience and competition analysis.
- Target audience are the people that could be your perfect buyer or customer. Usually, the target audience shares similar demographics (age, location, socioeconomic status, etc.). By defining the appropriate target market, you’ll be able to identify the exact direction and style your project should have to attract your “perfect” customer.
For instance, the target audience for our adoption project is people from the age of 25 to 60 in the local area of the shelter. They should be financially stable (high-low, middle and high class) to afford all of the pet expenses. Our target audience loves animals, has time to spend and care for them, and shouldn’t have any pet-related allergies.
- Competitors analysis is an examination of already existing companies in your field. They should have done some work already to create or promote a product or service. By looking at what they’ve already done, how they dealt with the problems, their weaknesses and strengths could be thought-provoking. It’s important not to copy them but think of how you can do better and stand out from the competitors’ crowd.
Let’s imagine we’ve conducted the competitor analysis for our pet adoption example. We can see that our friends at the other shelter provide the customers with in-person consultation about the adoption process. We have the consultations as well, but it sparked the idea of adding the comprehensive guide on what to expect to the bottom of the landing pages. Another example could be that our competitors give a packet of pet food to everyone who adopted the animal from them. We could take it a step further and provide our customers a whole bundle with pet food, pet toys, a certificate for three visits to the vets, and other goodies.
Step #3: Shape your goal
When you’ve done dreaming and brainstorming all the possible ideas and solutions, it’s high time to give them a defined shape. The goal, in this case, is something you want to have at the end of the project – a finished product or a specific result, or both. We advise you to keep it short and concise – 1 sentence is enough. Trust us, overcrowding it will only bring confusion to the table, and who wants that.
For instance: Our goal is to have 15 landing pages designed for individual animals to promote their adoption.
Step #4: Add specific info about the project
How what’s left is to add specific information about the project into the brief. It includes company information, timeline, deliverables, budget, and additional notes. It might look like a lot, but I find this part the easiest one to write. Let’s look into each part:
- Company information. This section should include general information like location, size, industry, contact info, etc. You could also add a concise history of the company or brand, its mission, and identity.
For example, We are a pet shelter in East New York with 15 employees. Our mission is to find homes for stray animals. Contact email & phone: [email protected], +1 212-200-5407.
- Timeline. Write not only the deadlines but also milestones in this section. Also, make sure that the deadline is not too strict and you have a runway if something unexpected happens.
For example,
Start of the project: 1st April 2022
Sketches of the landings: 30th April 2022
Wireframe of the landings: 15th May 2022
Finished landings: 1st July 2022
Client revision: 10th July 2022
Publication date (deadline): 30th July 2022
- Deliverables. Add the technical requirements for the project (let your nerdy part thrive): size, format, number of assets, resolution, etc.
For instance, 15 pet landings with six main sections: intro, my life as a pet, characteristics, how you can adopt (adoption guide), why us (info about the gift bundle and our testimonials), contact form & additional information. Every landing page should include one video of the pet, 2-5 photos, interactive elements, and a downloadable guide.
- Budget. This one could be tricky, but think ahead of what stages the project will include and identify the cost of each of them. Also, make sure to write the exact number (shockingly, not many people bother to do that).
For example, the total budget is $10 000: $3000 for web design, $4500 for coding, $2000 for asset creation (video, photo), and $500 for domain expenses.
- Additional notes. A perfect place for you to add anything else that you think should be written down for future reference. For example, stakeholders, previous experience, inspiration – you name it.
For instance, Dino Garnett is our assistance at the shelter (+1 212-200-5407). Also, we like the design of this site (www.example.com) and would prefer a similar style.
Step #5: Revise and summarize
As with any piece of work, you should take some time to look through it and see if any corrections should be made. Is there anything you could write more clearly? Anything you could shorten without any significant losses? Can you summarize this piece of info into one sentence?
You have to work on the brief long enough to determine your goals and understand what you really want from the project but not too long to overflow it with too much info. It’s called brief for a reason.
Bear in mind, poorly written creative and design briefs can be a problem that could potentially expand over the course of the project. Interestingly, it usually signifies that the communication between you and your client is not as clear and two-sided. If you would like to read more about what problems designers and creatives face before accepting the client brief, head to our mini-research on the topic.
Design Brief Templates
While writing your design brief, we advise you to take a shortcut and use the design brief template. Not only will it save you time, keep you on track, but also it looks professional and easy to use. We’ve created free design brief templates (+ design brief sample) with the unique design to kick start your creative project.
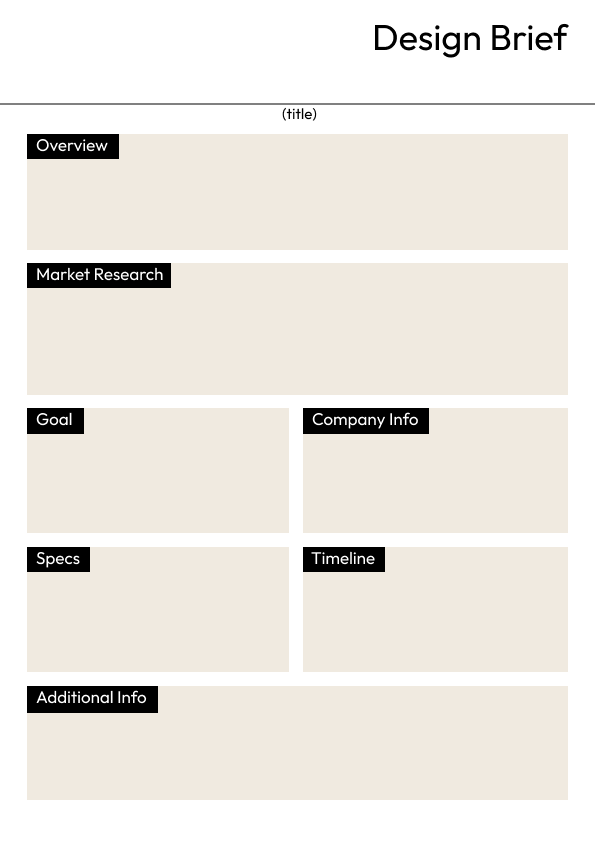

You can download PDFs to all the samples here:
Briefly…
So, with the knowledge of how to write a design brief that is both encouraging and straightforward, you can enhance your design workflow. It’s vital to grasp that the brief is not only a limitation, but it is also an invitation. The strict part of the brief will contain all of the nerdy details, and the inviting one will give a much-needed inspiration. It’s a win-win!
