Happy International Comics Day (which was on September 25th. We are late, we know)!
Anyways… what is the best way to celebrate than to show you a glimpse from behind the scenes (or should I say behind the panels) of comics creation?
Since I was a little kid, I have been interested in comic books. I mean, who wasn’t? I still have a whole stack of Donald Duck comics at my parents’ home and a few others at my bookshelf right beside me. However, with interest came a lot of questions. How do artists make them? Can I create one too? What should I do first? Will I be able to do this on my own? Those and so many more were popping out in my head like freshly-made popcorn. And now, after some digging, I can tell you and my past childish self all the secrets about comic book workflow.
What is a Comic Book?
I believe that understanding the definition and the structure of comics is the first step to apprehending the comic book creation process.
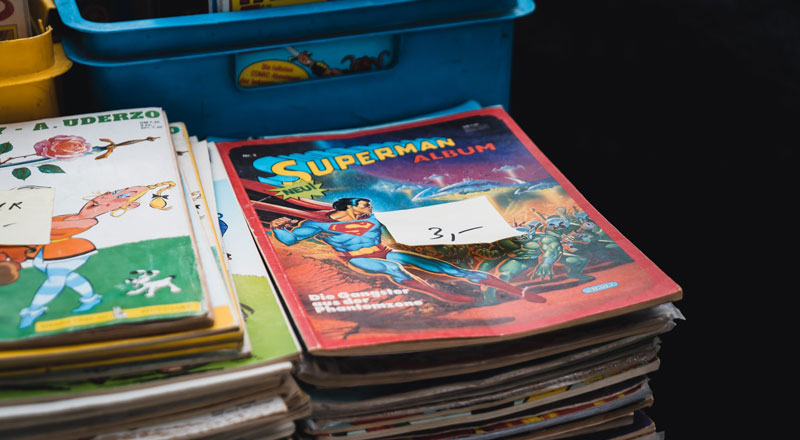
You probably know that comics are a form of art, but, to be more specific, it is defined as a form of “subsequent art”.I know many people think about movies or animations when they hear the phrase “subsequent art”, and they are totally right – it’s one part of them. Comics are another one. And I believe we should clarify what the subsequent art is before moving forward.
Subsequent means the one that follows in time, order, or place. To put it simply, if you draw one picture – you get an illustration; however, if you draw two successive pictures near each other – you get a sequenced comic, and if you show those successive pictures one after another in the same space – you get a film. You could even call comics an older sibling to film, or animation as one of the oldest comics was painted 32 centuries ago for the tomb of “Menna” (“Understanding Comics: The Invisible Art” by Scott McCloud).
So, the main parts of the standard comic book spread are:
- Panel – is a one-moment illustration that usually shows one spot in the timeline. According to Ira Marcks, it could be divided into 4 sub-elements (“Drawing Comics: A Beginner’s Guide”):
- Frame – a lens (not a box) through which you see your character. It could be compared to the window into your characters’ world.
- Speech Bubbles – text on the spread that includes the dialogues and other descriptive elements. It usually has a tail and is placed behind the character but above the background.
- Characters – the main and secondary heroes of the story. For the most part, anything that is ‘alive’ and involved in the plot.
- Settings – time and place of your comics. This is the environment in which your story takes place and evolves.
- Staging – is the way you organize the sub-elements on the comic panel.
- Gutter – is a space between the comic panels.
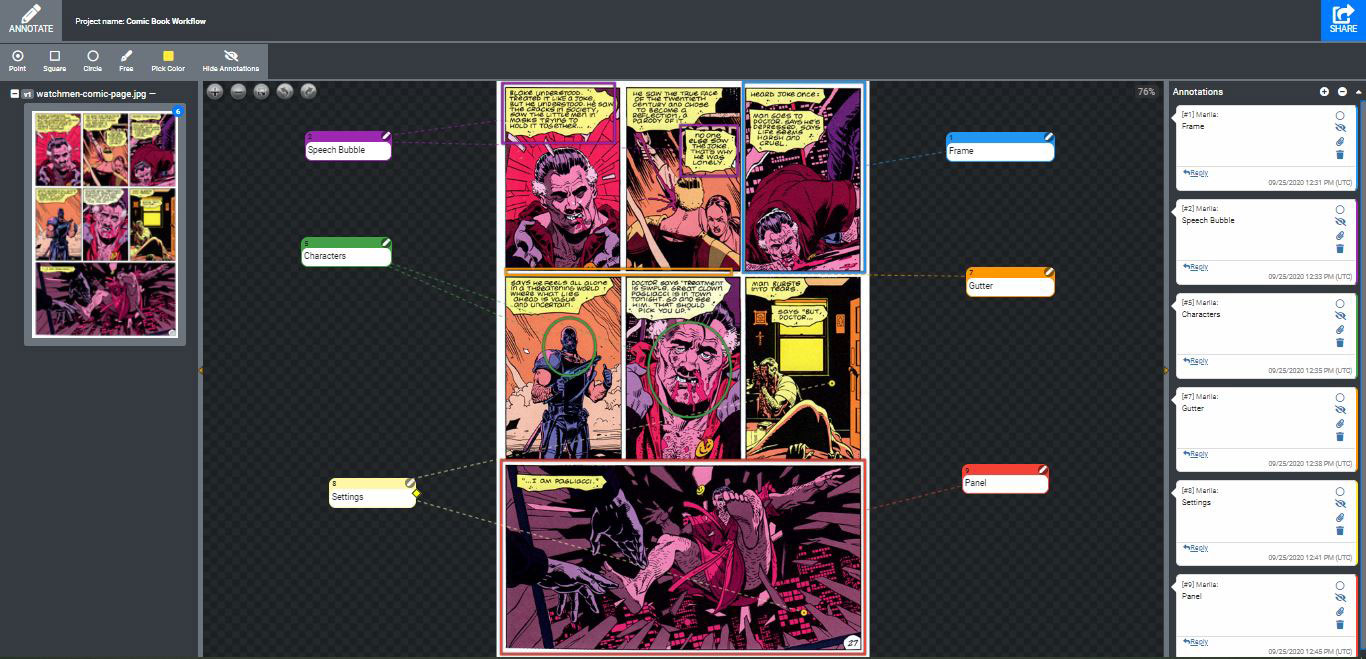
Spread from the Watchmen with all the comic book page elements highlighted.
The last significant element that is not a part of the spread but the way comic books are perceived is closure. Closure is the ability of the brain to fill the gaps, in our case, the gutters. Let’s imagine, in one panel, you can see a phone ringing, and the next panel shows that a character is throwing that phone at the wall. In this case, our brain uses a closure to imagine that the character picked up the phone and smashed it. What is interesting: has the character talked on the phone before throwing it? No one knows. This is a moment when the readers actively engage in storytelling because it’s only up to them what happened between the panels.
Steps to Creating a Comic Book
With all that mentioned, let’s move to the next part of this article – comic book workflow.
Whether you are a solo artist or a whole team of creators, these steps might intertwine or get shifted. Of course, while being a solo comic book creator, you would need to go through the stages one by one, whereas a team could work on several stages at once. Also, in big companies, it is an industry-standard to have separate people for separate steps. For example, the writer, the sketcher, the inker, the letterer, and so on are all responsible for their part of the workflow. In the less extensive comic book creation process, the duo of writer and artist is also trendy, as one is responsible for the story and another for the visuals.
The following 7 stages are just an overview of the creation of the typical comics.
- Writing
- Sketching
- Inking
- Coloring
- Lettering
- Editing
- Post Production
Writing

It all starts with a couple of words or a simple idea. Writing (or concept creating) is the first step that defines what your comic will be about and what the characters and settings are. This is also the part when you figure out the plot and the way the whole story will unfold and develop in the reader’s eyes. I believe this stage has the most creative freedom as you begin from the blank page, where anything could happen at any point in time with no restrictions whatsoever.
“Comics plot as in any other narrative art form usually is made of three stages. The first one is the introduction of the characters, settings, and mood. The second stage is centered around character development, challenges and it ends with a climax. Finally, the third stage is a post-climax resolution that shows what characters have learned along the way.”
Neil Gaiman for Masterclass
After you are done with writing your story, scripting comes into play. There are two main ways to prepare your story for the next step in this creative industry: full script and plot script. The full script (also referred to as DC-style) resembles a detailed roadmap of the story, very similar to the movie scripts where each movement and nuance is described. On the other hand, the plot script (also known as Marvel-style) is a story outline, where artists work on the smaller elements as they draw the comic book, and only after the artworks are complete, the writer comes in and adds the dialogues.
“I always start a project by figuring out the ending. This is a serious effort, and it takes time to play with the characters and imagine a journey. It’s not hard, and usually, the ending comes in an emotional moment of inspiration, but I have to wait for it…because until that happens, I don’t know if the story is worth telling. Only then do I go back and fill in an outline that will guide the comic book characters and build to that conclusion.”
Jeff Smith for Comic Alliance
Sketching

With the finished script as a base for the artworks, the sketching process begins. It is common to start with thumbnailing the panels, gutters, and staging. Most artists work on the variation of ideas and make several pieces of the same spread to achieve the best visual representation of the pacing and plot development. However, some artists skip the process of thumbnailing and start illustrating the whole comics straight away, working out the composition as they go. All in all, sketching is the place for transforming words into pictures.
“Well, the first thing I do is I either have a full script that I’ve written, or I’ve received a script from someone else. And I make thumbnails from that script. Then I sit down to pencil. I have cut my paper to size, and I’ve ruled out the image area with a T square, pencil, and ruler. One thing I think gets possibly short shrift when talking about penciling is the design process. Every comic book character, every comic book background, all the costumes, all the props need to be designed first. And this is what I refer to while penciling every panel in this scene.”
Eric Shanower for Coursera
Inking

A lot of people imagine inking as tracing. Well, this is not entirely true, as inkers are not precisely tracing the sketch but rather making a new drawing on top. At this stage, artists look through their sketches, correct the possible drawing mistakes, take out the unnecessary elements, work on the details as well as light and shadow. Inking is usually referred to as a refinement of the sketch. It’s vital to remember that it makes the first impression as inking represents the style you’re working in.
“To me, the main role of the inker is to take the pencils and make them clear and readable. When you’re done with the page, it should be able to stand by itself in black and white before the colors are added. You always want to amplify what the penciller is putting down on the page. You try and find what the strengths of the penciller are and build on that and try to help smooth out the weaker parts.”
Mark Morales for Comics Beat
Coloring

Artists color the finished linework at a separate stage to use the colors to intensify and “crown” the already completed piece. Also, a lot of artists utilize color design to set a mood or highlight the panel. Imagine having a black and white comic with only a few colorful objects contributing to the plot twist. Color, in this case, tells a story by itself, making the elements stand out without even reading the comics. Sometimes colors and limited color palettes are used as the signature of the colorist. Of course, coloring is an optional step for many black and white artists for obvious reasons.
“I always read the script to see if the writer has any color notes on there and to get a feel for the mood of each scene. I then break the story down into scenes and create a palette for each. I make sure the palettes differ so the comic book reader can immediately know that the scene and/or time has changed. As far as inspiration goes, some cover and scene palettes just come to me immediately, and others take time and even experimentation to make sure they work.”
Alex Sinclair for Adobe
Lettering

And the last piece in the puzzle of the creation of the comic is lettering. Regardless of how good the linework and coloring are, some matters are best transmitted through words. At this stage, letterers add all of the text that you see in the comic books: dialogues, descriptions, and engaging CRASHes or WHOOSHes. What makes a huge impact is that pictures and letters coexist in comics, adding meaning and dimension one to another. That’s why letterers work closely both with artists and writers to preserve this balance.
“Lettering isn’t invisible. The reader is looking right at the lettering a good deal of the time while reading a comic. So the more consistent it is, the easier the reader can be absorbed into what is happening in the book, not noticing what we’ve done to facilitate that – how the placements navigate them through the page, guiding from one scene to the next. We make it easier for the reader to accept the lettering without a second thought so that we can lower the barrier between the script and the art.”
Ariana Maher for Comics Bookcase
Editing

With the previous steps complete, you should have a finished comic book in your hands or on the computer. Well, almost finished. Even though editing is entangled in every aspect of creating the comics (checking the writing or inking the sketch), the final edit is the one that takes the most painstaking work. The artists go through every panel, every word, every drawing to make sure that everything is a valid representation of what they want without any foolish mistakes.
“There are a lot of process hybrids, I think. 80% of the work happens before a pencil ever touches the paper on the drawing table. So, doing a comic book requires a couple of years of part-time writing, letting things naturally emerge, slowly getting a little bit more focused. Then, basically doing very rough sketches of every page of the entire book to get a feel of the scope, the scale, the size. Each page you are reading is about 5 pages worth of work.”
Nate Powell for WTIU
Don’t miss a single pixel of difference…

Notice even the smallest changes with 4 compare modes
Start a Free TrialPost-production

I know-I know post-production is a movie term, but it perfectly encapsulates what I am about to describe at this stage of comics creation. After your precious baby is finished, it’s time when you share it with the world. Printing, distribution, marketing, online campaigns, sharing it on your Instagram – all of this is the post-production that assists people to encounter and read your comics. Basically, it is a way comics travel from your drawer and to the hands of the comic book reader. This step isn’t as creative as previous ones but, to my mind, very much needed to spread your art.
Useful Resources and Inspirations
I decided to include a list of resources filled with helpful information about the world of comic art.
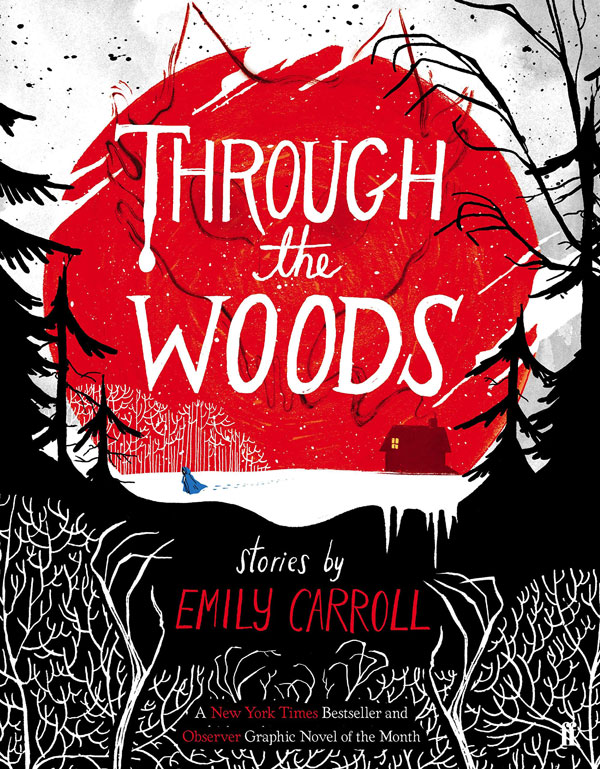
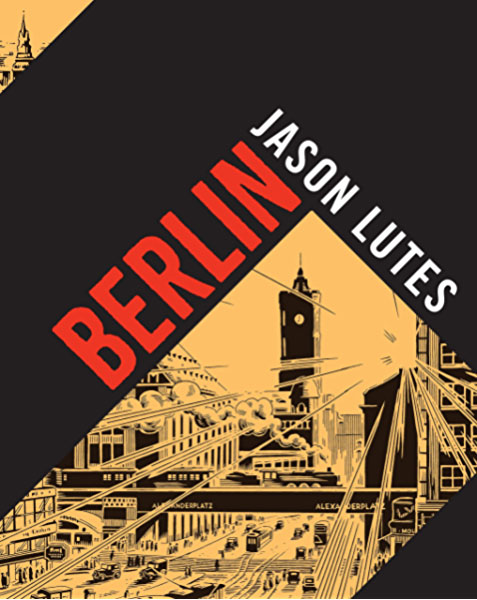
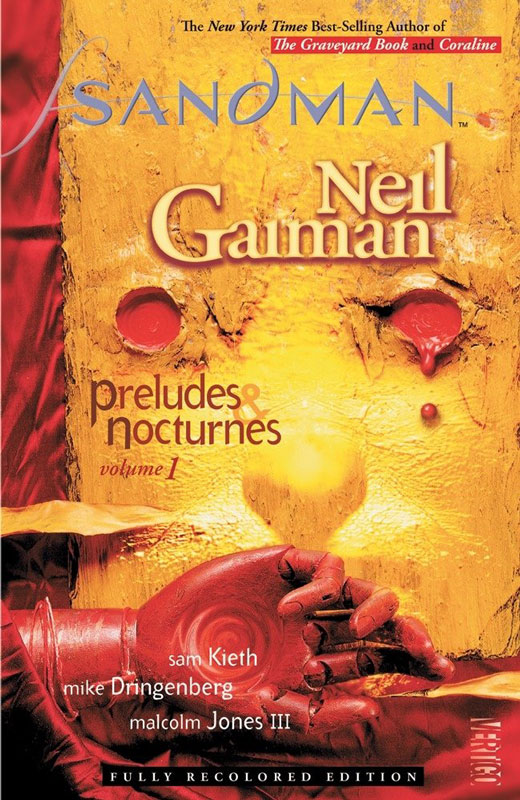
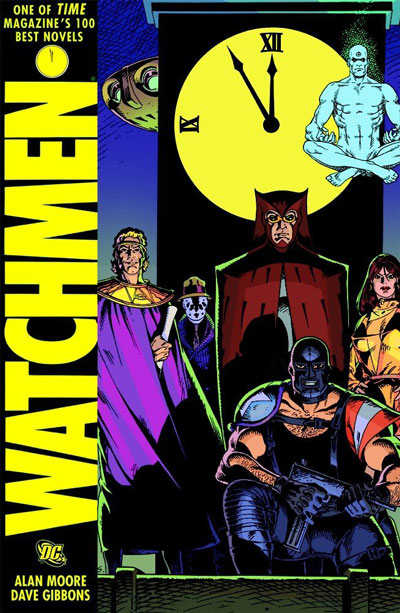
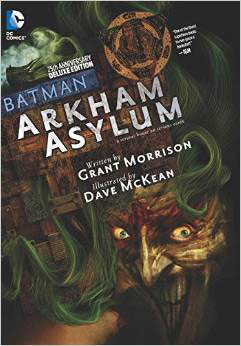
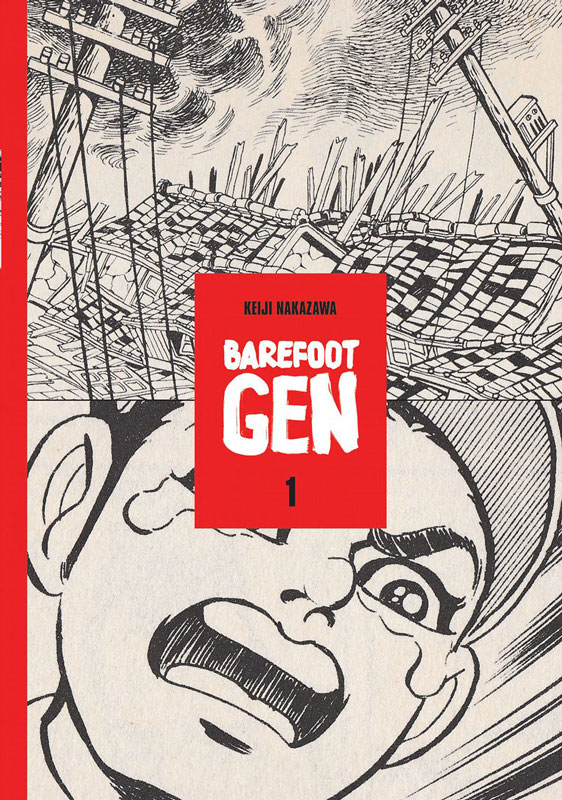
Also, Approval Studio Team picked these Top-6 Comics that we think are stunning and worth having a look at!
Final thoughts
Sadly, the behind-the-scenes tour is coming to an end. As you can see, comics, as any subsequent art, have the unusual ability to tell the story through a unique mixture of words and drawings. Most importantly, the 7-step comic-making process shows just how much work and effort comic book creators put in one spread, let alone the whole comic book. However, what never seizes to impress me is that the readers also take an active part in reviving the story, making them an inseparable part of the comic books.
I hope this article inspired you to read a few comics or even create one of your own.
As always, we would love to hear your feedback on this article, and if you are interested in Approval Studio, we will gladly answer all of your questions here.
Take care!

 TEAM SOLUTIONS
 WORKFLOW SOLUTIONS


 REVIEW TOOL
 PROJECT MANAGEMENT
 TOOLS & INTEGRATIONS
 CLIENT INTERVIEWS




4 Responses
Hey there, I think your site might be having browser compatibility issues. When I look at your website in Opera, it looks fine but when opening in Internet Explorer, it has some overlapping. I just wanted to give you a quick heads up! Other then that, great blog!|
Thank you for pointing that out, we will look into this issue. As for the blog, we are pleased to hear that you’ve enjoyed it!
I’ve been exploring for a little for any high-quality articles or weblog posts on this sort of area . Exploring in Yahoo I eventually stumbled upon this website. Studying this info So i am glad to show that I have a very just right uncanny feeling I found out exactly what I needed. I such a lot surely will make certain to do not forget this site and give it a glance regularly.|
Thank you for your kind words!